
Strawberry Shortcake
An Elegant Makeover
Strawberries are summer's natural beauties, perfectly gorgeous and enticing, exactly as they grow out of the ground.

But on special occasions, they get all dolled up and magically transform from their earthy vibe, into a look that could be described as sophisticated and sumptuous.
This is one of those occasions.
Vegan and Gluten-Free
This recipe is gluten-free as written, but if you don't mind a little gluten and/or don't feel like buying special flour, you could easily swap out the GF all-purpose flour in favor of regular unbleached all-purpose flour.
Prepare the Layers in Advance
You can make this all at once if you're short on time, but it will be helpful to prepare the cashew cream and the strawberry topping in advance. This way, the strawberries will turn to a lovely syrupy consistency, and the cashew cream will have ample time to thicken in the fridge before serving.
Even the shortcakes need to cool completely before you can remove them neatly (without breaking) from the liners.
So if possible, I recommend preparing the layers up to a day in advance, and then assembling your shortcakes right before serving.
Without Further Ado...
I present to you a dessert that's wonderfully delicious, and simple enough to bake in your toaster oven. Plus, big bonus points for not having to heat up your kitchen by powering up your full-sized oven in the warm summer months!
Extra perk: Leftover Vanilla Cashew Cream tastes amazing as a fruit dip or dessert topping, and makes a yummy plant-based coffee creamer, too!
See below for some recommended equipment and ingredient tips.
Strawberry Shortcake
Vegan, Whole-Food Plant-Based, Gluten-Free & Oil-Free

Ingredients
For the Vanilla Cream
- 1.5 cups raw cashews
- ⅓ cup water
- 3 Tbsp pure maple syrup
- 1 Tbsp vanilla extract (not a typo - I mean a whole tablespoon)
For the Strawberry Topping
- 1 lb fresh strawberries, chopped
- 2 Tbsp sucanat (or other sweetener)
- 2 tsp lime juice
For the Shortcake
- ½ cup gluten-free all-purpose flour
- ½ cup almond flour
- ½ cup oat flour
- 1 tsp baking powder
- ½ tsp salt
- ¼ cup pure maple syrup
- ¼ cup vanilla cream (reserved from the recipe above)
- ¼ cup water (or more, as needed)
Additional (optional) toppings
- Chopped walnuts
- Raw cacao nibs or mini vegan chocolate chips
Instructions
1. In a heat-proof bowl, pour boiling water over the raw cashews and set aside to soak and soften for at least 15 minutes.

2. In a medium bowl, combine the chopped strawberries, sucanat and lime juice to form the strawberry topping. Stir to combine, then set aside. Continue stirring occasionally.


Over time, the strawberries will become "macerated," and will form a sweet delicious syrup for our shortcakes. You can let this sit over night -- after about an hour of stirring occasionally on the counter, you can store it in the fridge overnight in an airtight container, and let the maceration continue naturally.

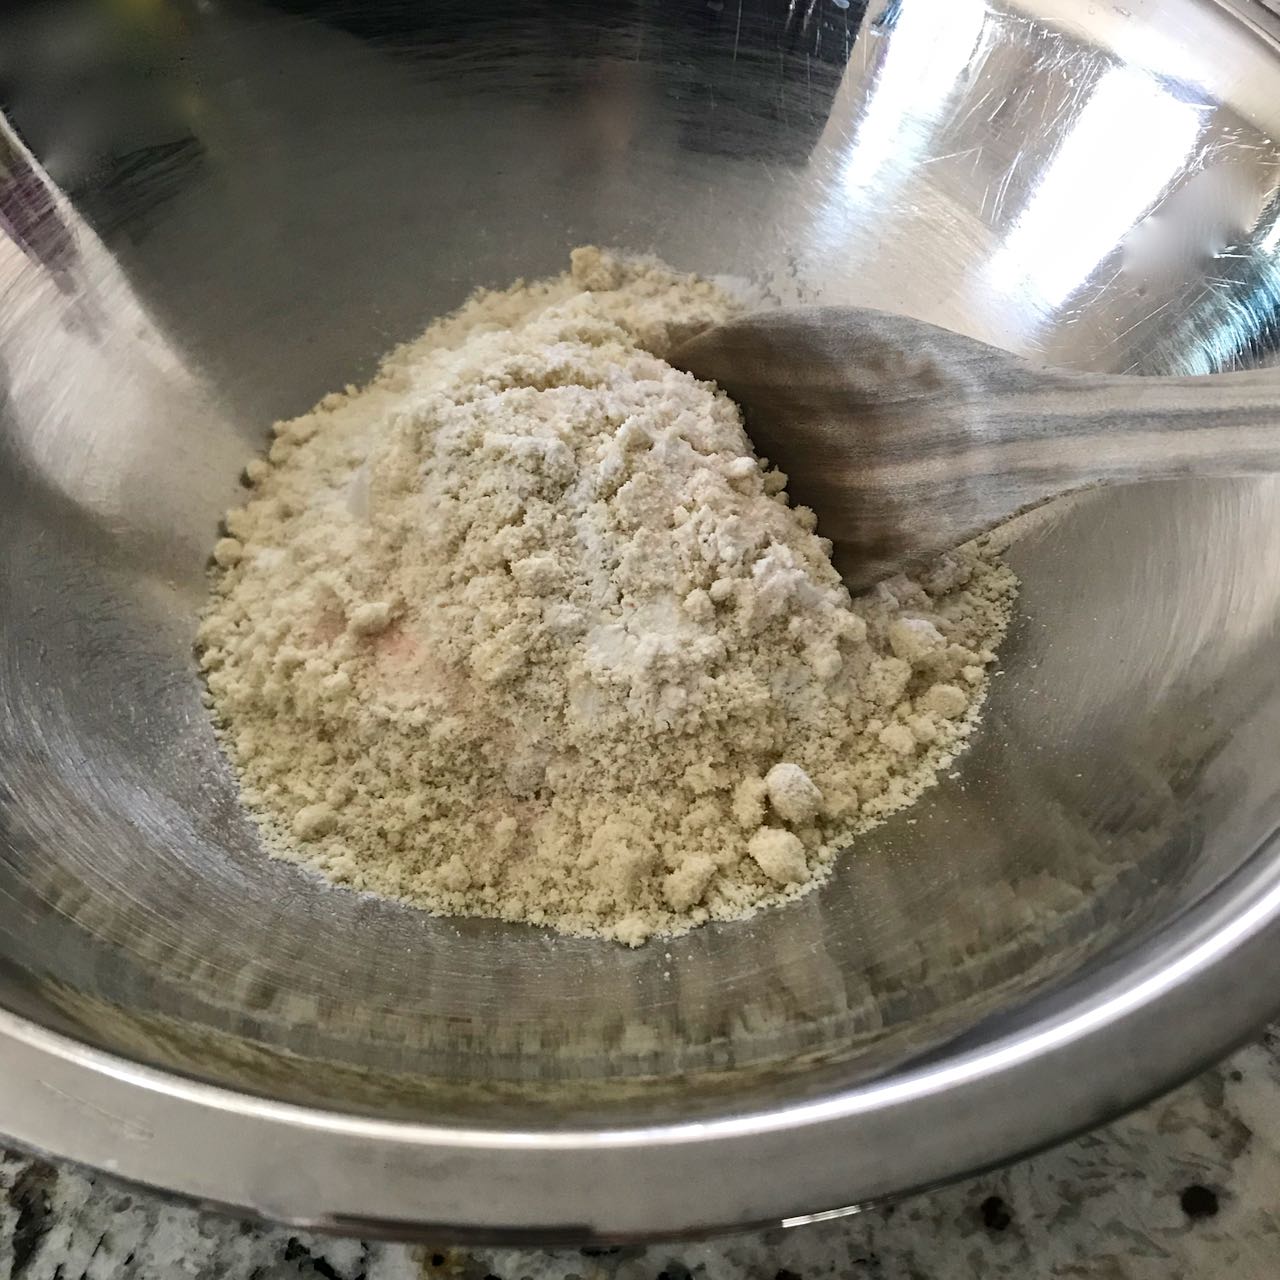
3. In a large mixing bowl, combine the dry ingredients for the shortcake dough (flours, baking powder and salt). Set aside for a moment while we make the cashew cream.
4. Drain the softened cashews. Transfer them to a blender to make your sweet vanilla cashew cream. Add the water, maple syrup and vanilla extract. Blend until smooth.
Reserve ¼ cup of cream to use in the dough, and then put the rest in the refrigerator, in an airtight container, to thicken.

5. Preheat your oven or toaster oven to 375 degrees F. Prepare a baking tray with 8 silicone baking cups (or, if you're using a full-sized oven, you can prepare a muffin tin with 8 cupcake liners).

6. Add the ¼ cup of reserved cashew cream to the dry ingredients for the shortcake.

Add the maple syrup and water.

Stir to combine. If you reach a crumbly consistency that is too dry to become a dough-like consistency, add more water a Tbsp at a time, until the batter comes together more like dough. Don't be afraid to use your hands to bring it all together if you need to.


7. Distribute 2 Tbsp of batter into each baking cup. Wet your fingers so they won't get too sticky, and press the dough into the bottom of each cup so that it's spread out as evenly as possible.

8. Slide the tray into the preheated oven and bake for 16 minutes. Allow the cakes to cool completely before removing them from the liners.

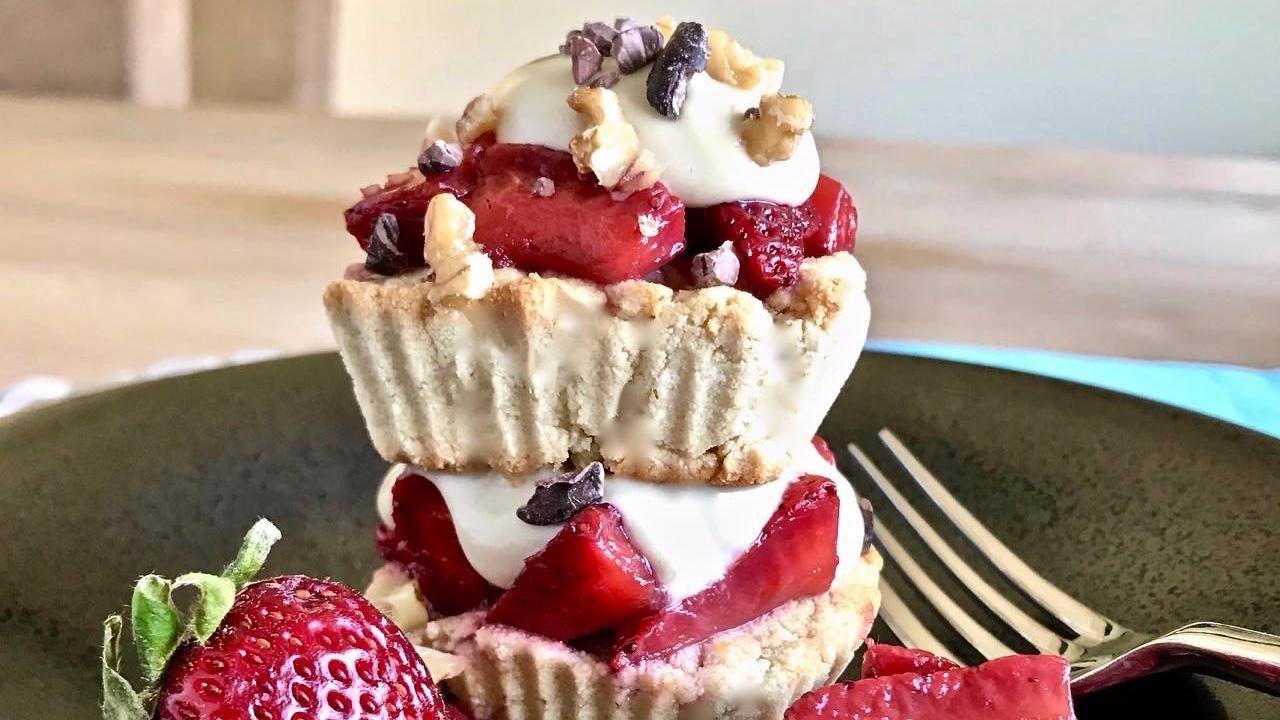
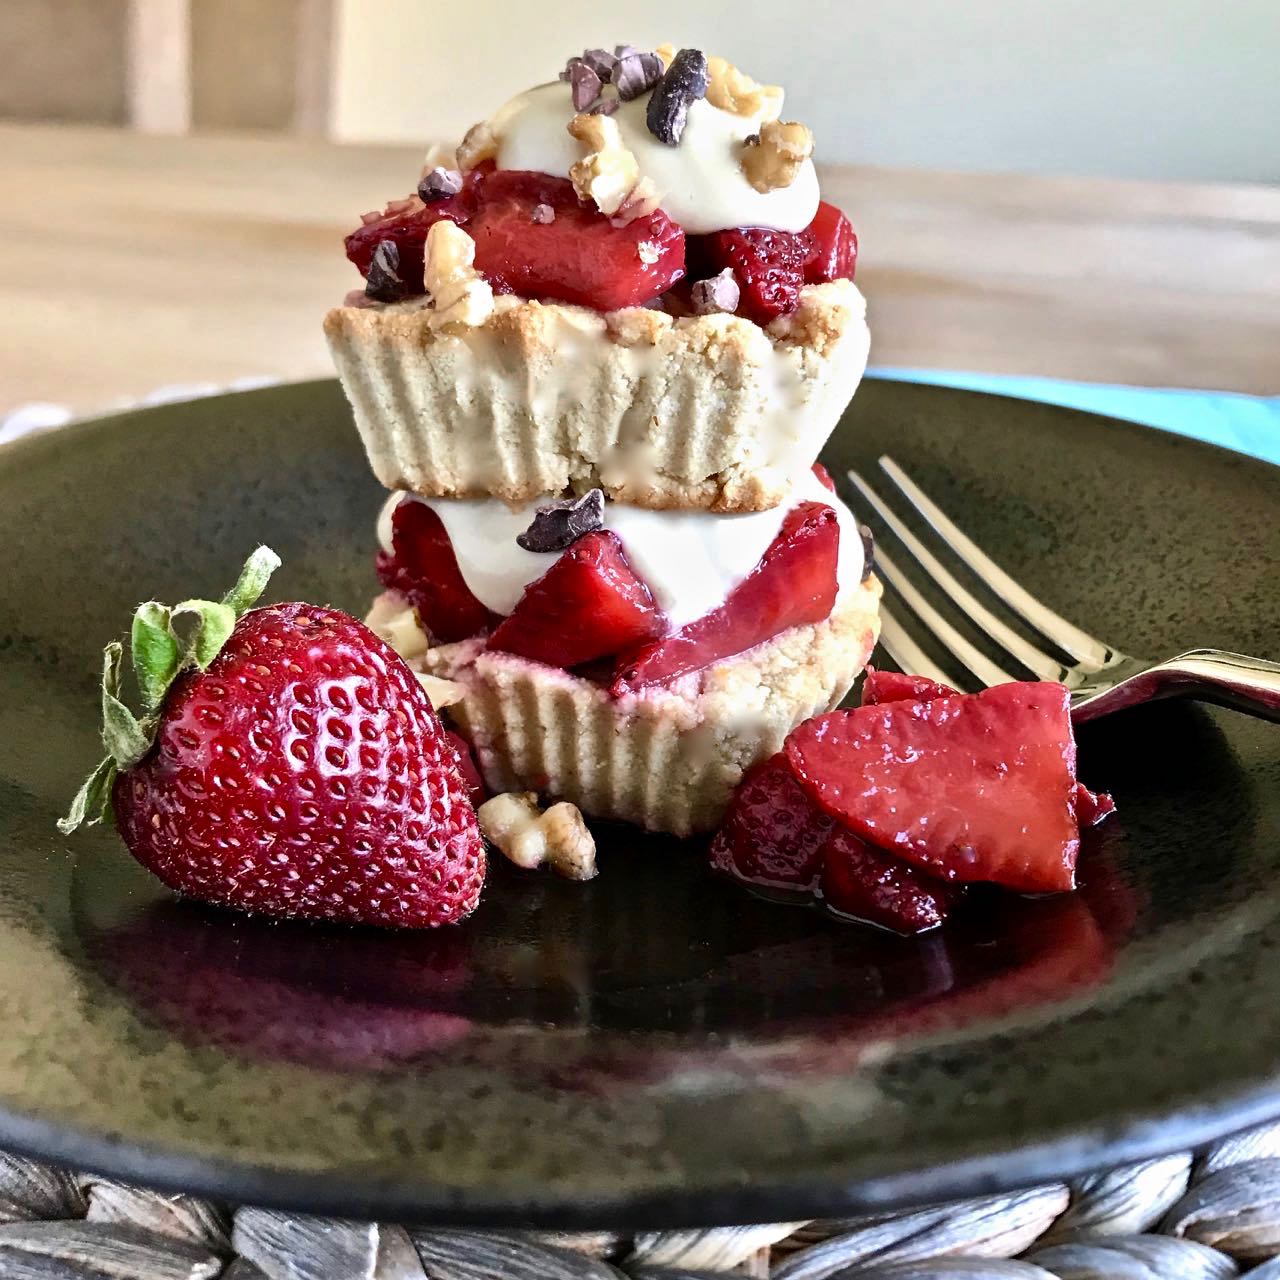
9. To serve, place each shortcake on a plate. Top with a scoop of macerated strawberries and a dollop of vanilla cream.

If you'd like to, you can add a second layer of cake, strawberries and cream. This is not necessary, as a single-layer shortcake is certainly decadent enough, but it does make quite an impression to serve a double decker dessert. You may need to use a toothpick or two to hold the layers all together so the whole thing doesn't topple over. I'm speaking from experience here... Just be sure to warn your guests that there are toothpicks in there!


10. If you'd like, you can top each shortcake with a sprinkling of chopped walnuts and raw cacao nibs, as shown in the photos.


Serve and enjoy!
Equipment Notes
Toaster Oven
I really love my Breville Toaster Oven. It has nifty little features that make life easier, including a little button labeled "A bit more" that adds 30 seconds to your toasting time so conveniently, and another "Frozen" button that adjusts the toasting time accordingly for bread that's been in the freezer. But my favorite feature is that it's sizable and reliable enough to bake in. I highly recommend this one!
Silicone Baking Cups
Pro tip here: Silicone baking molds are extremely useful to have on hand in your kitchen. They work great in this recipe to allow you to bake in a toaster oven, where otherwise a muffin pan would not fit. However, I use these quite frequently to freeze liquids and sauces such as leftover coconut milk, homemade pesto and chickpea cooking water ("aquafaba") in small quarter-cup portions for future use. What's great about these is that you can freeze your food, remove the silicone molds, and then put your frozen food cubes right back in the freezer, freeing up the molds for other uses. In other words, you don't have to keep the food in the silicone once it's frozen.
Vitamix
A high-powered blender such as a Vitamix is highly recommended to achieve a smooth consistency for your cashew cream. I've heard some reports that using a regular household blender yields a less-than-smooth (more granular) cream.
A Vitamix is admittedly pricey, but it is an excellent investment in your health and your healthy cooking efforts. I use mine daily and it has lasted over 10 years so far. The best price I've seen recently was at Costco. You can pick up the Explorian model on Amazon for about $369 (this is not the model I own, but all Vitamix models are powerful and resilient). Prime Day is coming up July 15 & 16, 2019, so take a look -- you might be able to score a great deal.
Ingredient Notes
Pure maple syrup: Check the ingredients when you buy your maple syrup. It should have ONLY ONE ingredient. If it contains corn syrup or food coloring, put it back on the shelf, it's junk.
Raw cashews: The best price I've found on all nuts is at Trader Joe's.
Sucanat: Sometimes also referred to as "organic cane sugar" or "evaporated cane juice," this is a less refined form of sugar. It's brown because it still contains molasses and some trace minerals. All "alternative" sugar products are still sugar, though, so it should be used sparingly, as a general rule. You can find it in the health food section of most grocery stores and of course the specialty stores like WholeFoods and Vitacost always carry it. If you prefer, you can use a different kind of granular sugar or even liquid sweetener like agave nectar or more maple syrup, for macerating the strawberries.
Gluten-free all-purpose flour: I use Trader Joe's brand GF flour, but other brands would also work. Look for one that doesn't rely too heavily on chickpea flour, as those tend to have a stronger, less-neutral flavor. As I mentioned earlier in the recipe, you can use regular all-purpose flour instead, if gluten is not a concern for you.
Almond flour: I've been buying mine at Costco recently, but Trader Joe's carries it and so does just about any supermarket. Look for "blanched" almond flour, as it will yield a lighter result for your baked goods. Vitacost and Amazon carry it.
Oat flour: You can make this yourself by grinding rolled oats in your blender or food processor. But I use oat flour often enough in my baked goods to make it worthwhile to buy some pre-ground. Vitacost carries it.
Any questions? Feel free to post them in the comments. I hope you love this recipe as much as I do.
Live Local Cooking Classes
Here are a few photos of when I taught this recipe live at the Downtown Yoga & Wellness Coop here in Las Vegas last month. We had a lot of fun! If you're a Las Vegas local, please keep an eye out for more live cooking classes. I do one a month at this amazing facility.


