
Dark Chocolate Chunk Strawberry Ice Cream
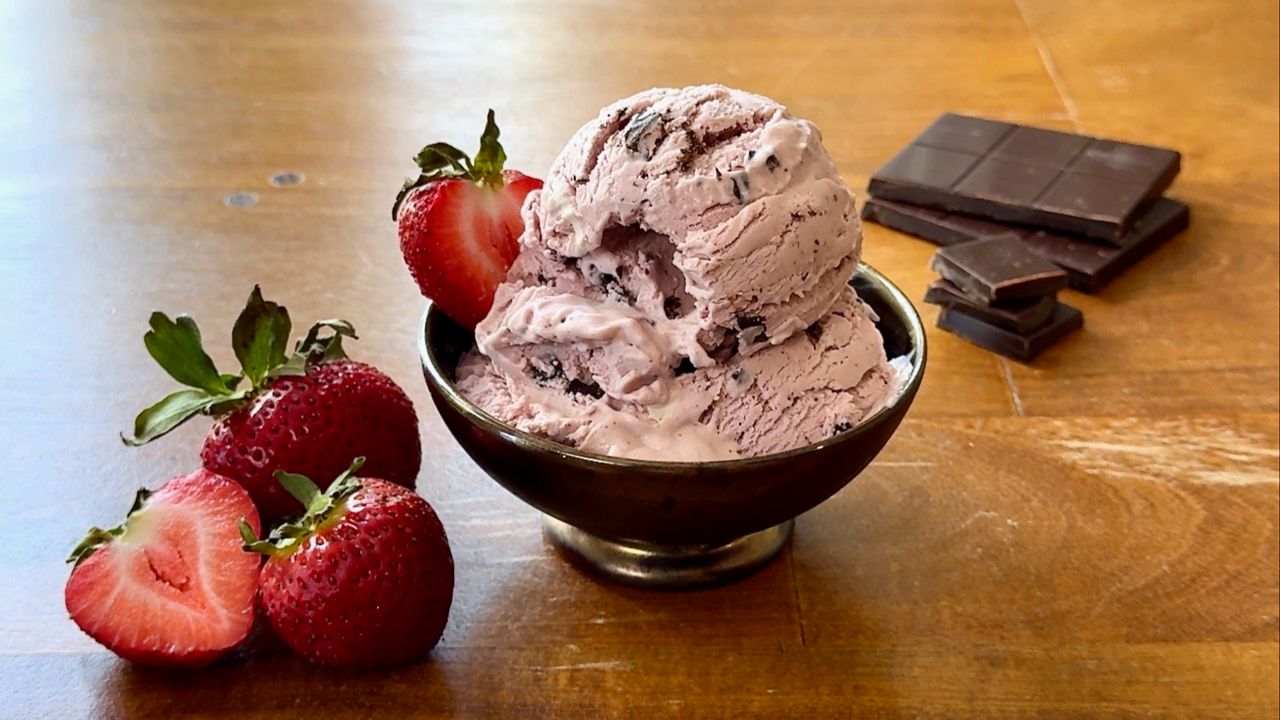
If you're looking for a creamy Strawberry Chocolate Chip Ice Cream that rivals the richness of traditional dairy ice cream, you've come to the right place.
Made with fresh strawberries, generous chunks of dark chocolate, and simple whole food plant-based ingredients, this homemade recipe delivers the luxurious texture and flavor of a premium ice cream shop treat -- without any dairy.
The secret lies in combining naturally creamy ingredients with a simple technique that concentrates the strawberries' natural sweetness while removing excess water. The result is an intensely flavorful strawberry ice cream with a smooth, scoopable texture and irresistible dark chocolate chunks in every bite.
Whether you're following a plant-based lifestyle or simply looking for a delicious homemade summer dessert, I think you're going to love this recipe.
🎥 Watch the Video
👇 Click to watch the video on YouTube and then return here to reference the recipe.
📥 Download the Printable Recipe
👉 Click here to go to the recipe download page. Print it out and lock it into your binder of favorite recipes!
Full recipe below 👇
Note that some of the links below are affiliate links. It means when you shop through them, I receive a small commission at no additional cost to you. Thank you for your support!
🍓 Ingredients
- 1 cup cashews
- 1 14-oz can of full-fat coconut milk
- ⅓ cup pure maple syrup
- 1 Tbsp vanilla extract
- 1 generous pound of fresh strawberries
- (Optional) 1 Tbsp of pure cane sugar, if your strawberries aren't quite as sweet as you would hope
- A 2.8-oz dairy-free dark chocolate bar (roughly 3 oz is fine)
Instructions
Place the churning bucket of your ice cream maker in the freezer so it has time to freeze completely before you churn your ice cream.
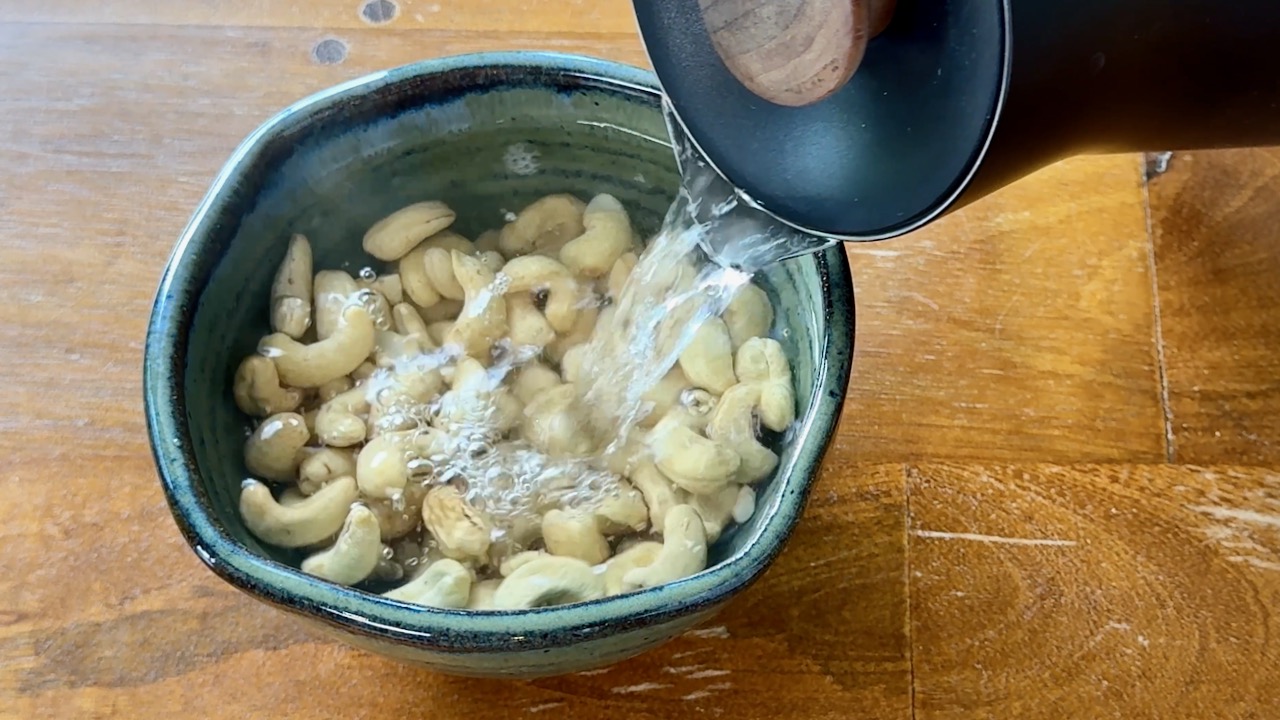
Place the cashews into a heat-proof bowl and pour very hot water over them. Set them aside to soften for at least 15 minutes (or longer -- up to a few hours -- if your blender isn't high-powered).
Wash a little over a pound of fresh strawberries. Find the sweetest ones you can. Then slice away their greens and chop them into quarters.
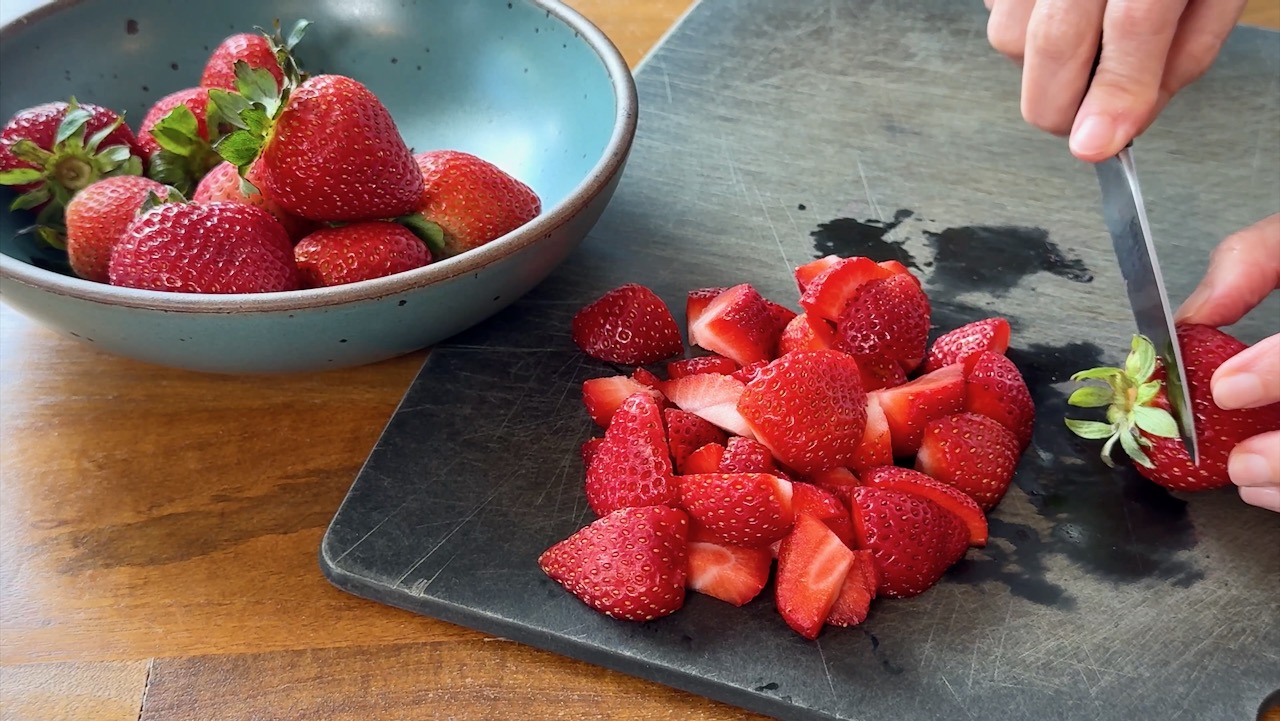
You don't need to be meticulous with the chopping; these are going into the blender anyway.
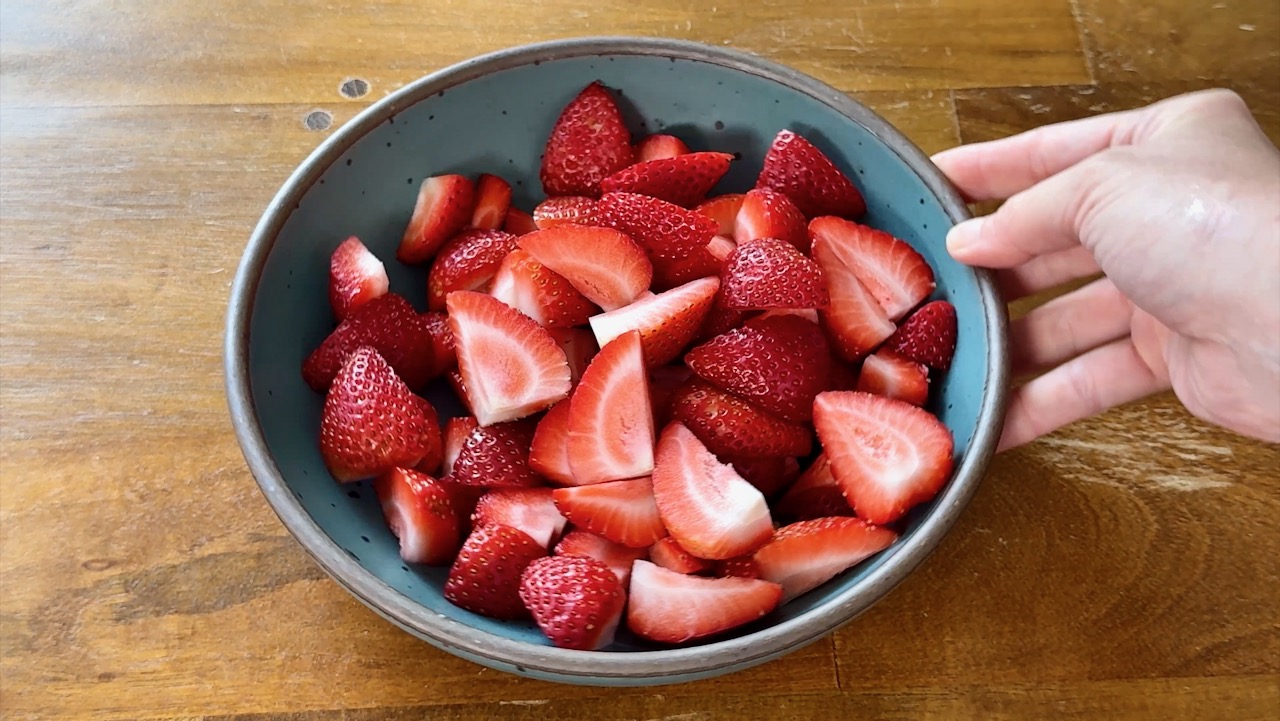
Transfer the chopped strawberries to a blender and blend until smooth. I run the blender for an additional 30 seconds or so, to really pulverize the strawberry seeds and get as smooth a juice as possible.
Once blended, pour the strawberry puree into a small saucepan.
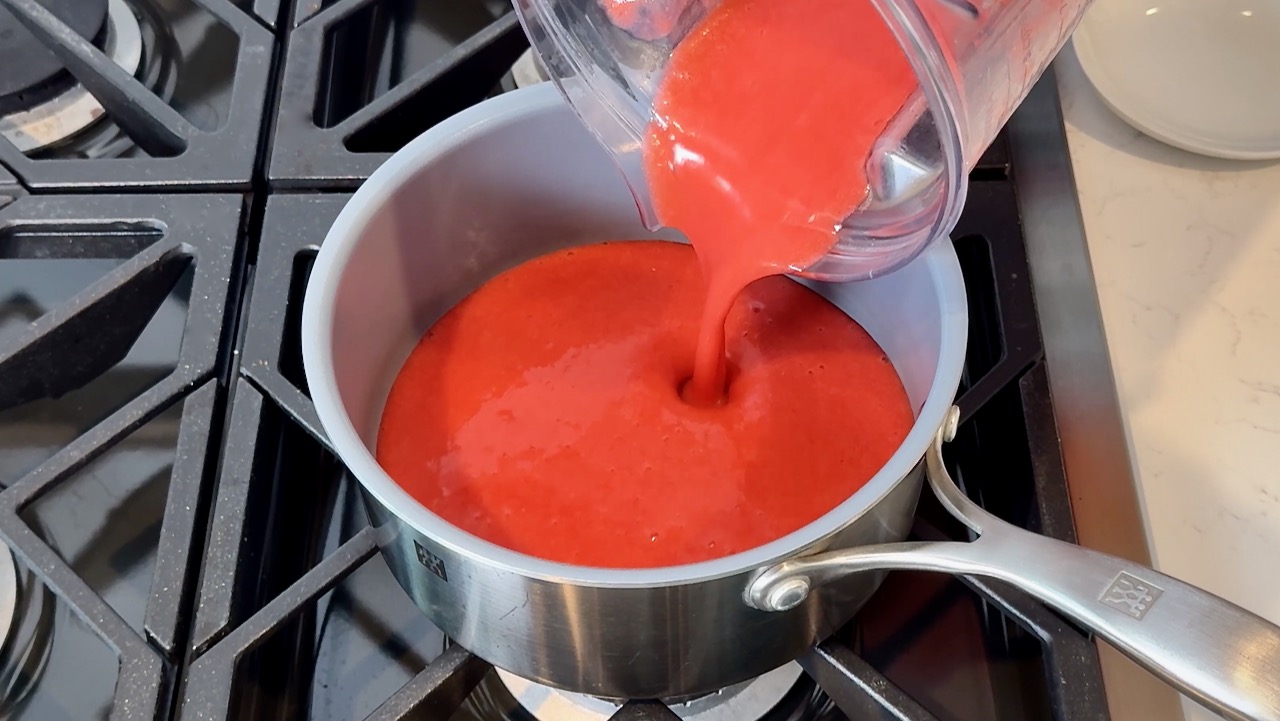
Turn on the heat and bring it to a simmer. Stir the juice frequently, all the way to the bottom of the saucepan and all around the sides, to make sure it's not scalding or sticking to the pot.
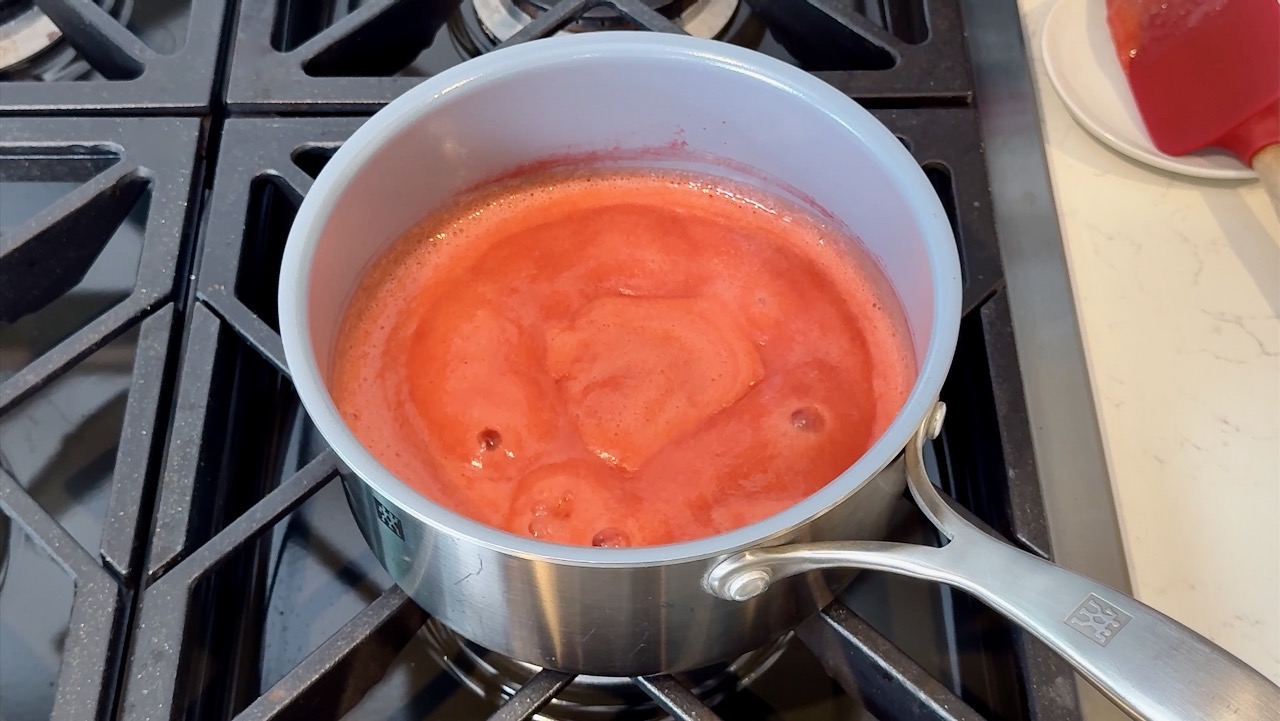
We're cooking down the strawberries because they naturally contain a lot of water. By allowing the water to evaporate out before we churn the ice cream, we'll be preventing ice crystals from forming as the ice cream freezes.
If we skipped this step, the ice cream would be closer to sorbet on the spectrum of ice cream textures.
By reducing the strawberries first, our ice cream will turn out creamier -- and almost indistinguishable from traditional dairy ice cream.
Carefully taste the strawberry juice. If it tastes a little bit tart, or not quite as sweet as you'd hope, you can optionally stir in some pure cane sugar. Start with 1 Tbsp if you're using it, and increase gradually if necessary.
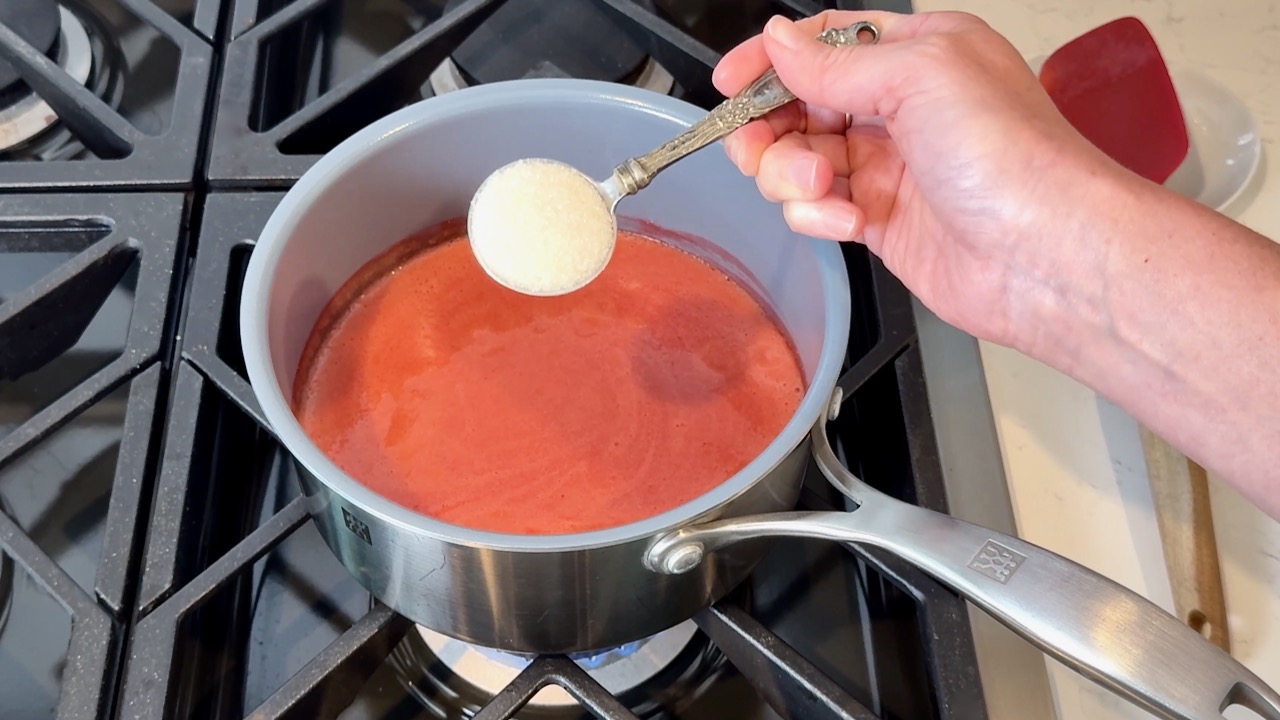
Remember that you don't need to sweeten it to the level of ice cream sweetness yet. We'll also be adding maple syrup to the ice cream base later. But a little bit of sugar can boost the natural sweetness of the strawberries at this point if they need it.
Continue simmering and stirring until, when you drag a spatula through the strawberry reduction, you can see the bottom of the pot for a split second, as shown in the instantaneous moment pictured below.
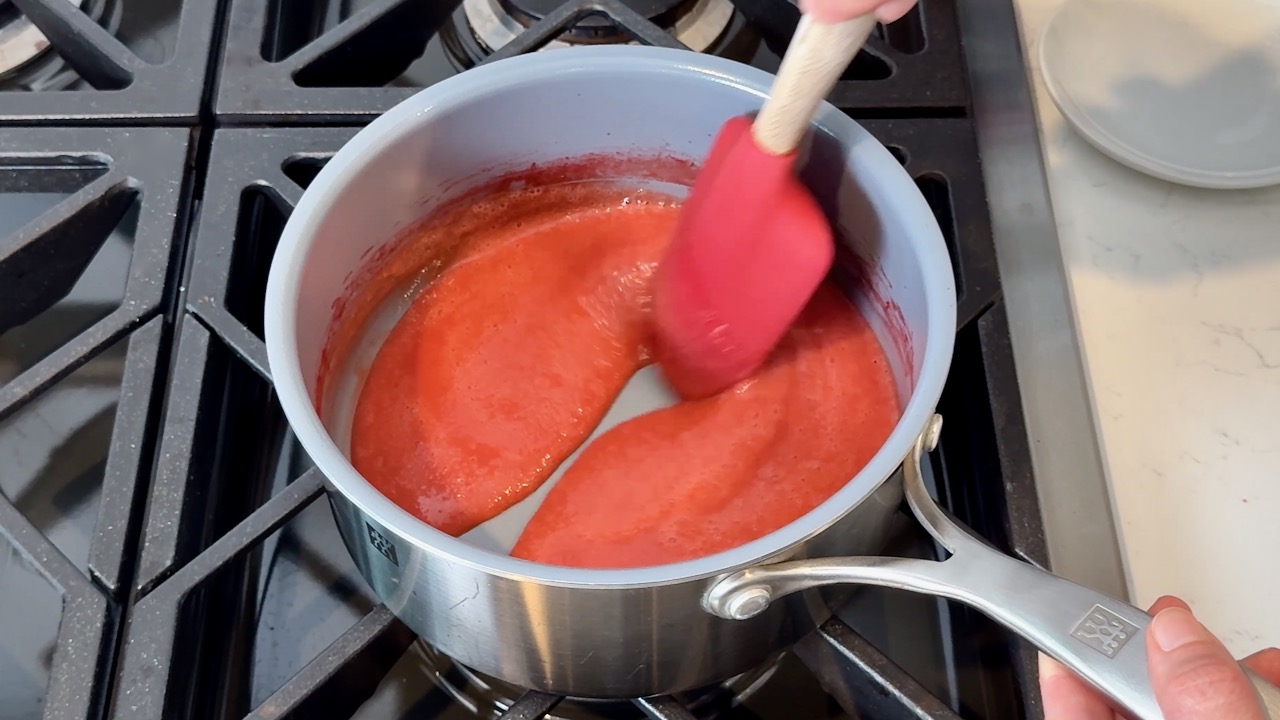
Note that it doesn't stay this way -- it fills in the space shortly thereafter -- but it's thick enough that this space is created momentarily when you drag the spatula through. That's when you know it's ready.
Turn off the heat and allow the strawberry reduction to cool. Then transfer it to a small container with a lid. A jelly jar is a great choice.
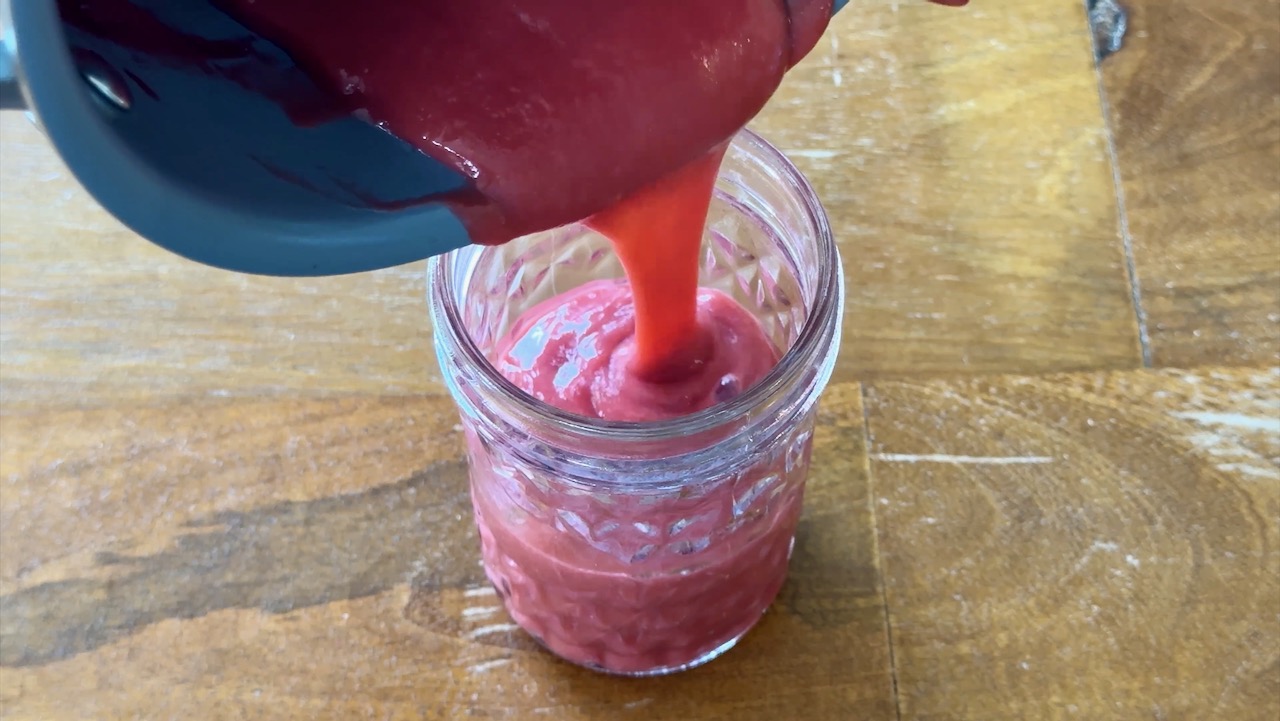
To back up a bit, while the strawberries are simmering, you can create the ice cream base.
Drain away the soaking water from your softened cashews.
In a blender, combine the softened cashews, the full-fat canned coconut milk, ⅓ cup of pure maple syrup (check the ingredients to make sure there's only one ingredient), and 1 Tbsp of vanilla extract. (Yes, a whole tablespoon of vanilla!)
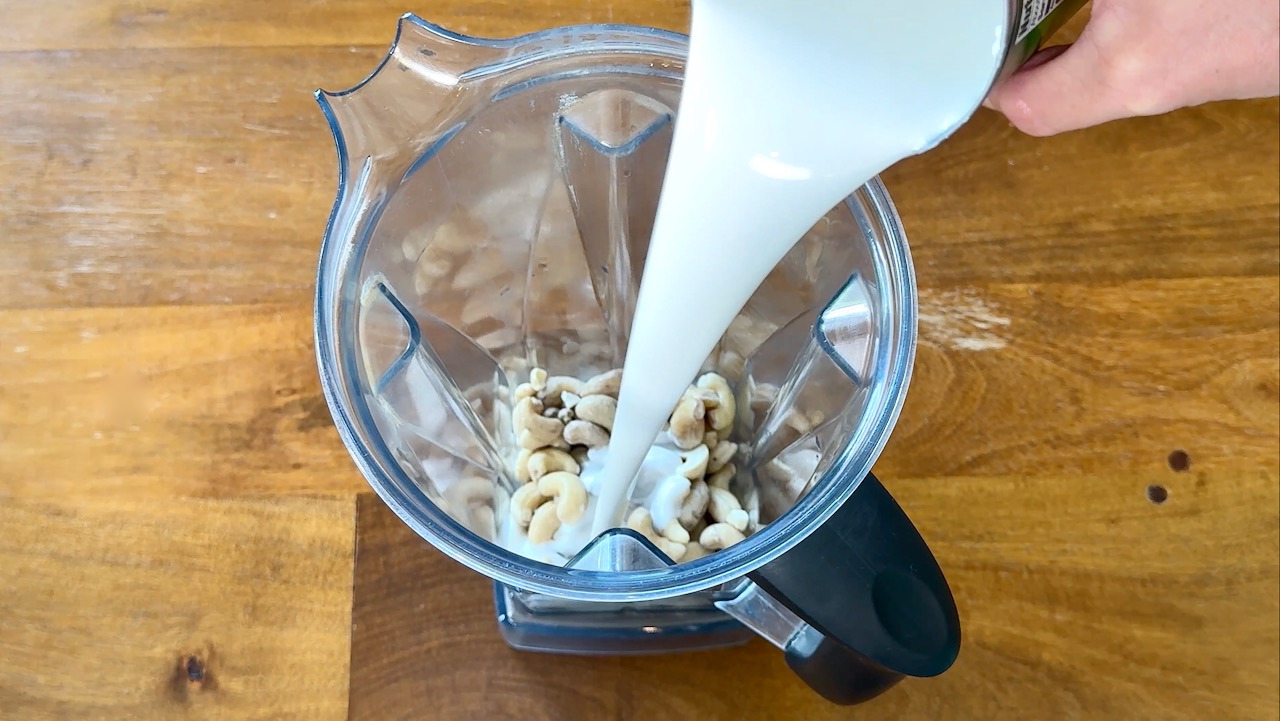
Blend this mixture until very smooth, then transfer it to an airtight container, as well. I use a quart-sized Ball jar for this, but if you don't have one, any bowl covered in plastic wrap will suffice.
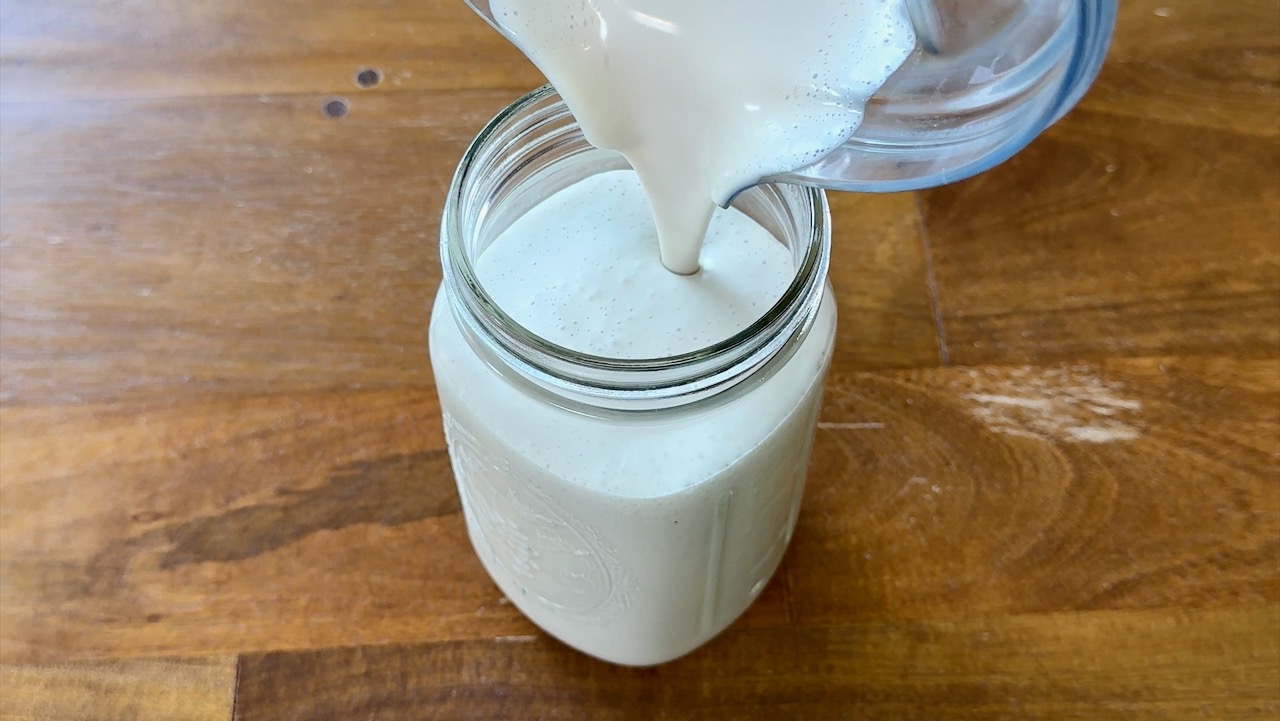
Place both the strawberry reduction and the vanilla ice cream base into the fridge to cool for several hours, or ideally overnight.
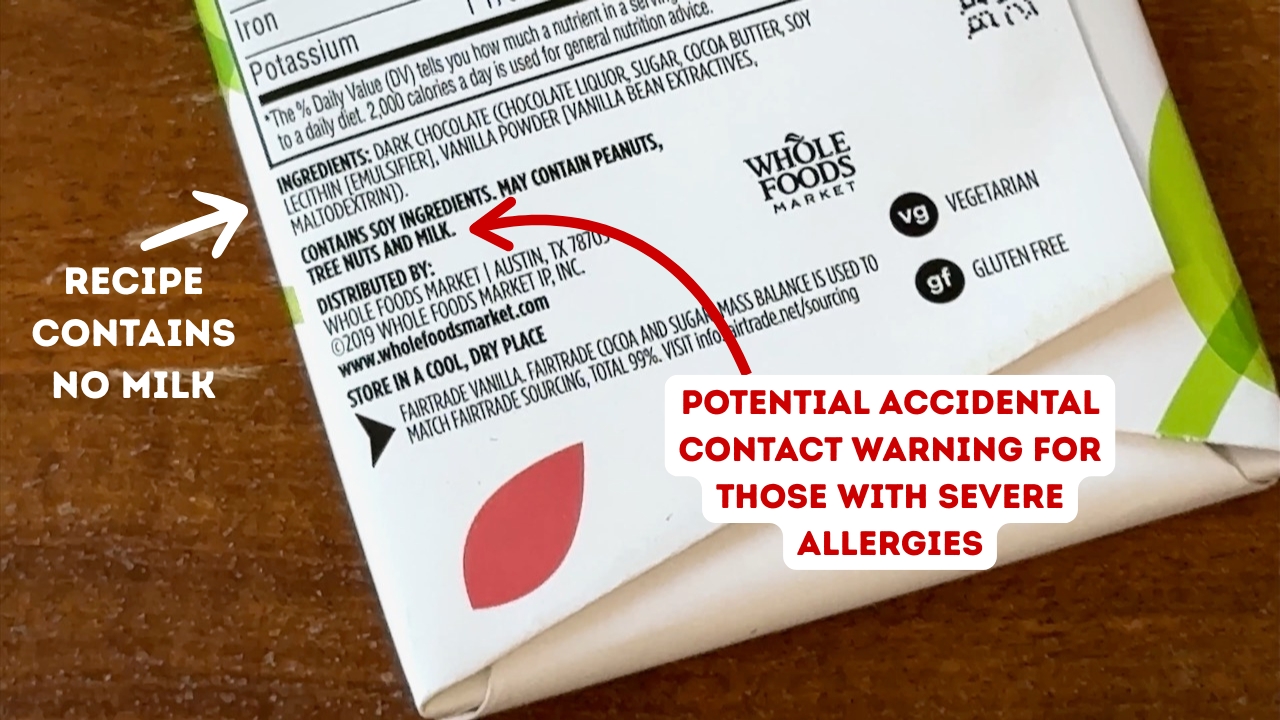
The next day (or whenever the mixtures are cold), chop a dark chocolate bar into small chunks of varying size. Be sure to check the ingredient to ensure the chocolate does not contain milk.
Label Reading
Note that the "May Contain" notice beneath the ingredient list is a cross-contamination warning for severe allergies, because the chocolate bar was processed or packaged on equipment shared with dairy ingredients. It does not mean that milk was deliberately added.
If the food actually contains milk, it will be listed after "Contains," where soy ingredients are listed in the label pictured below.
In such cases where there are no milk-derived products included in the ingredient list, the chocolate bar is considered plant-based or vegan.
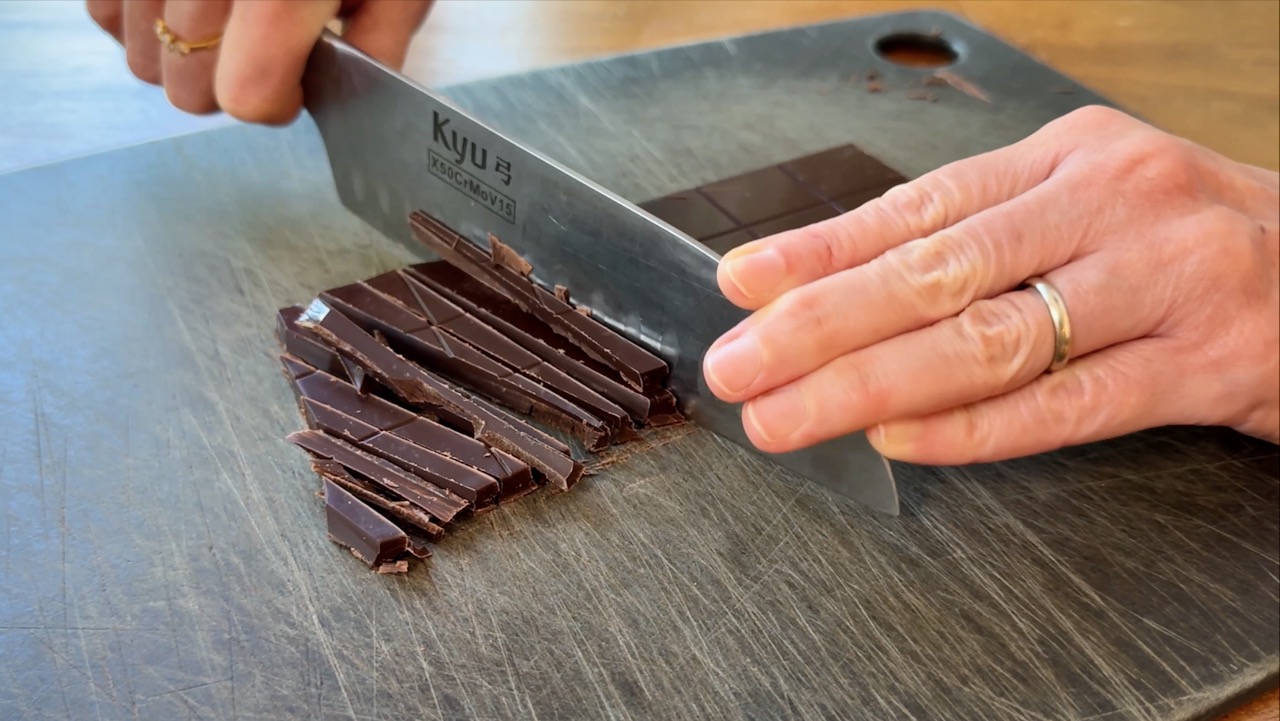
Chop the chocolate bar into small pieces.
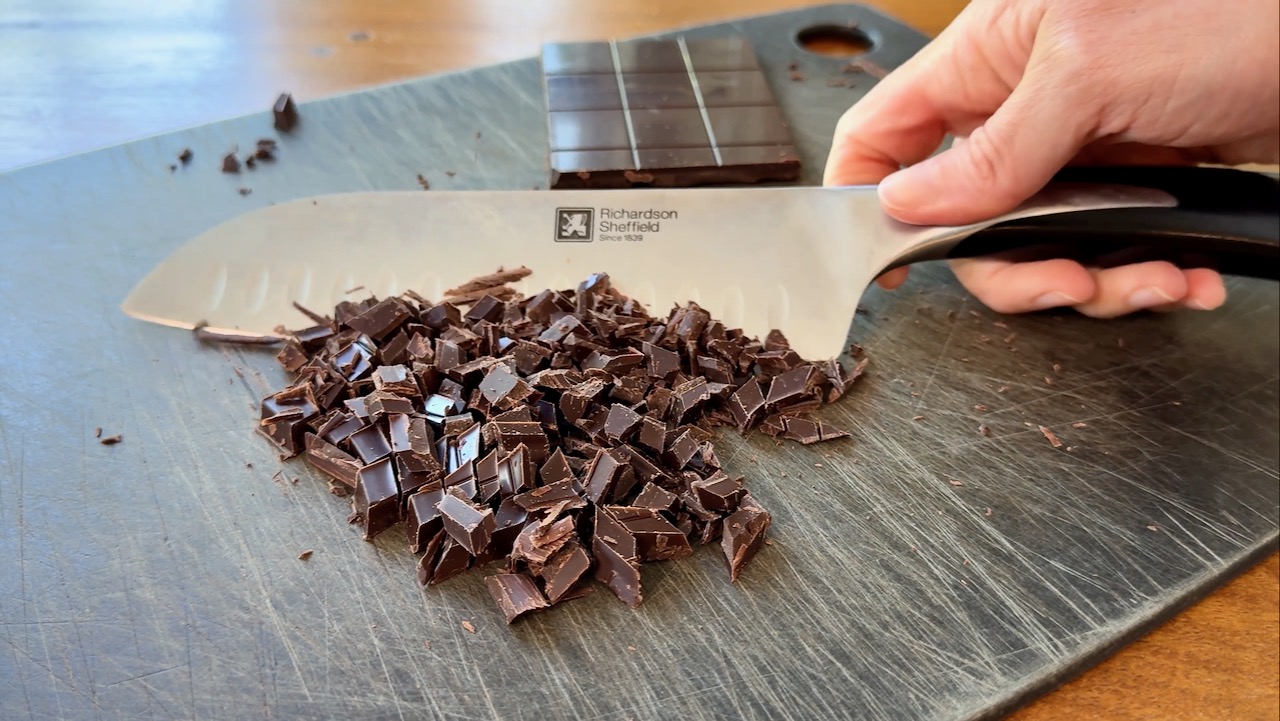
I like to vary the size a bit, to make the texture of the ice cream more interesting.
Assemble the ice cream maker. For the machine I use (and highly recommend), I need to freeze the churning bucket in advance overnight as well.
Turn on the machine. Once it's spinning, add the cold vanilla ice cream base to the machine.
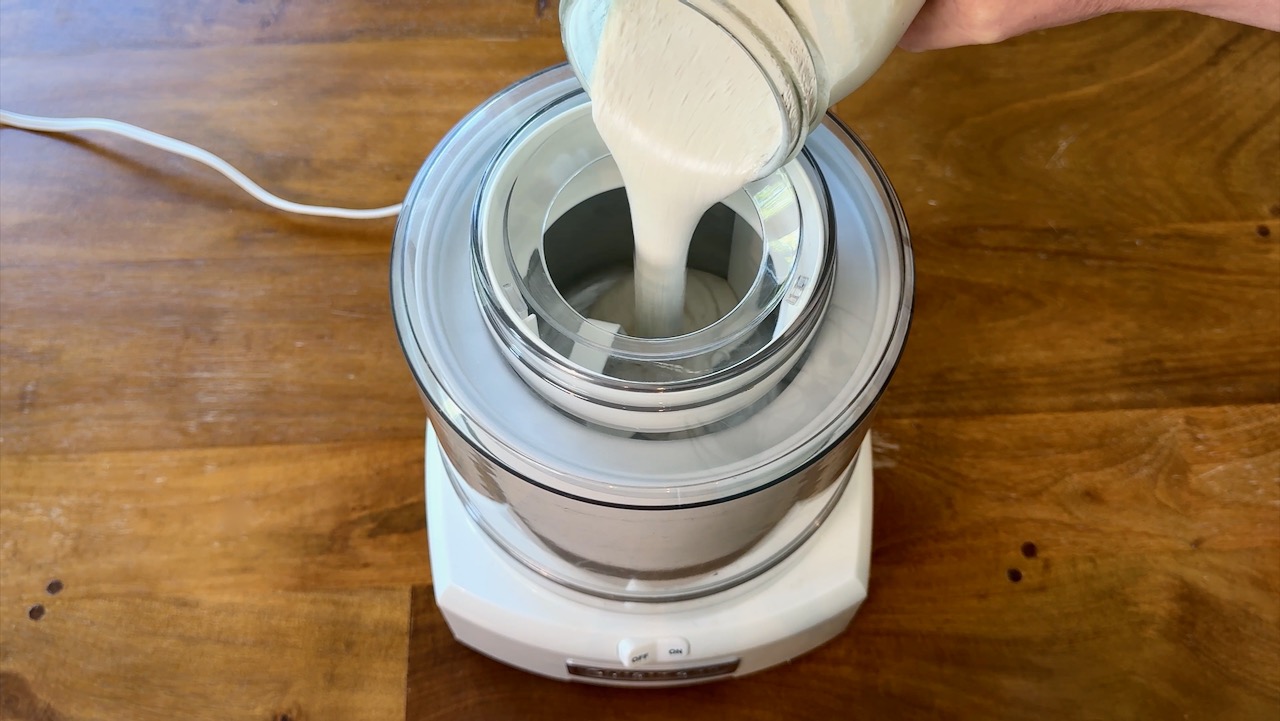
Follow that immediately with the strawberry reduction.
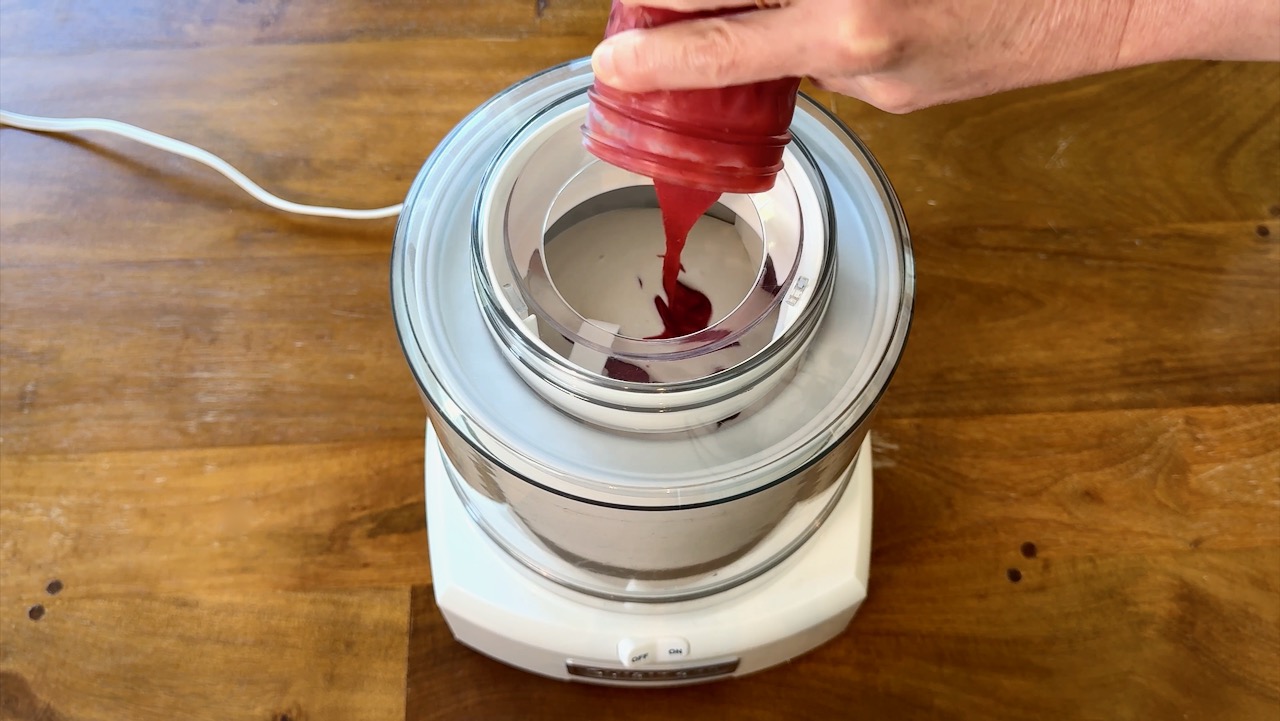
I use a silicone blender spatula to get all of the contents out of the two jars.
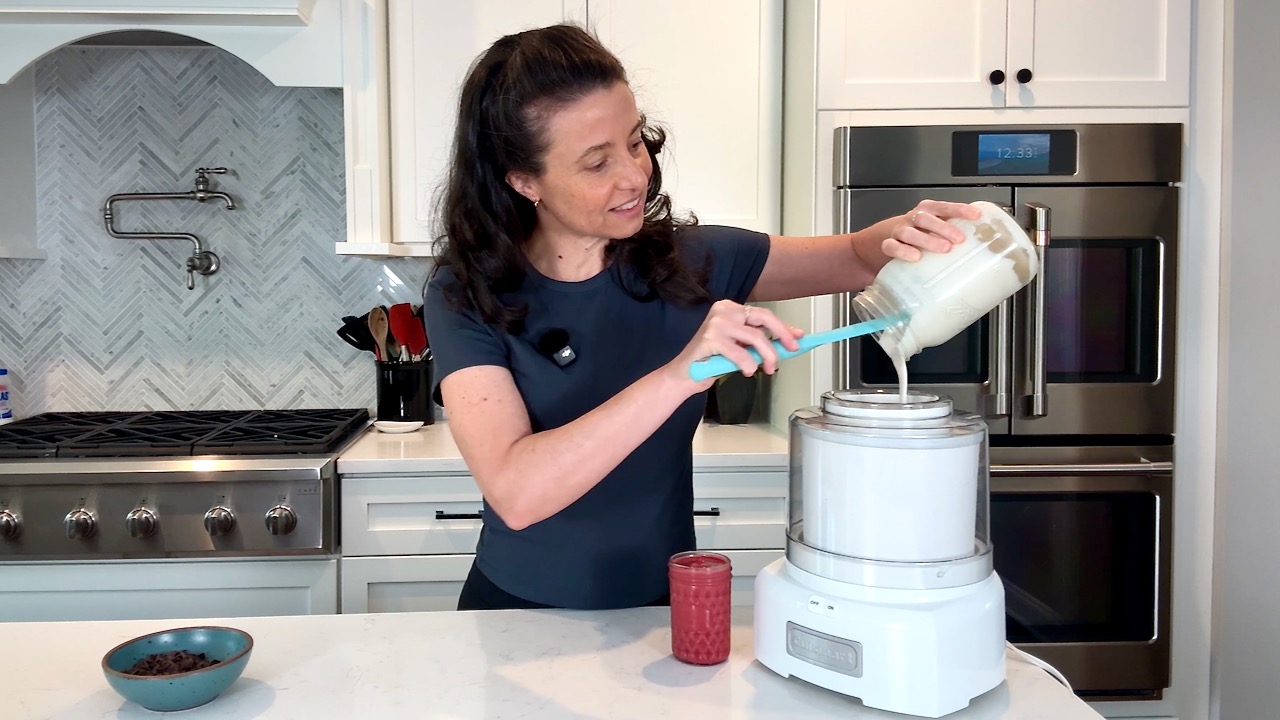
The vanilla ice cream base and strawberry reduction will combine naturally as the ice cream churns. It's fun to watch it transform into that pretty pink color characteristic of strawberry ice cream.
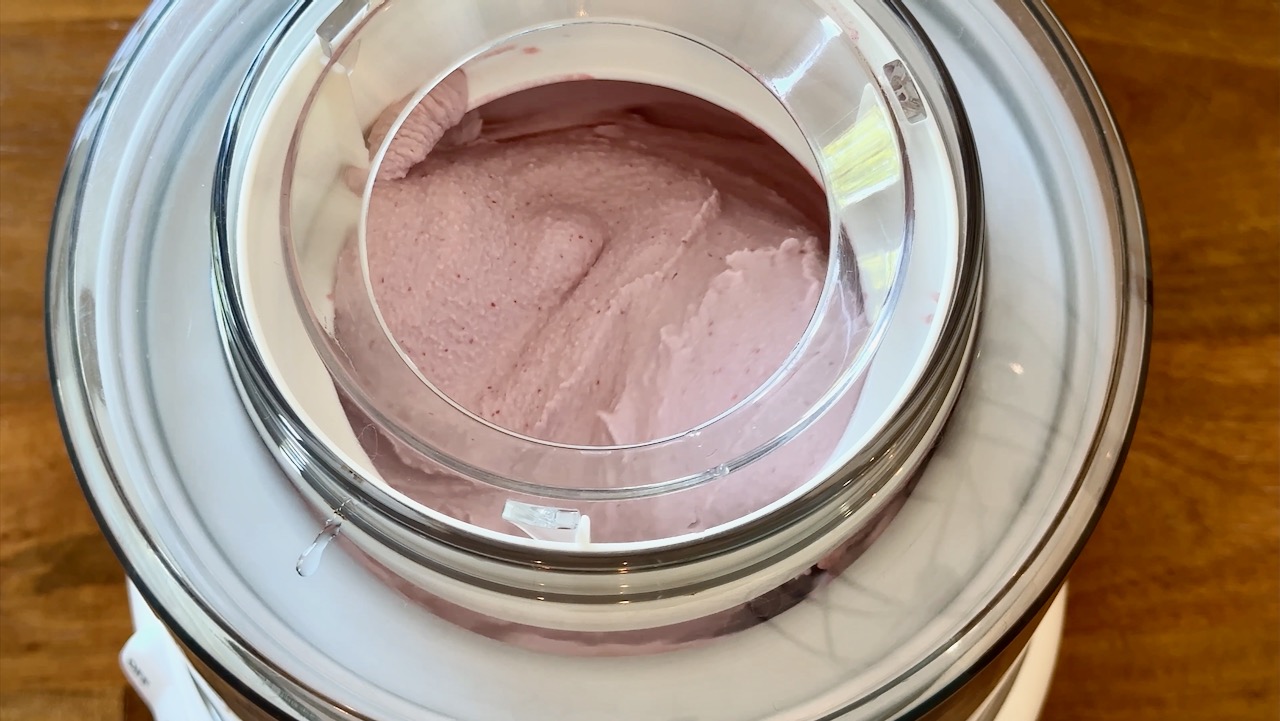
Allow the ice cream to churn and thicken for about 12 to 15 minutes. Once the ice cream is thick enough that the chocolate chunks won't immediately drop to the bottom, add them a little bit at a time to the ice cream while the machine is still spinning.
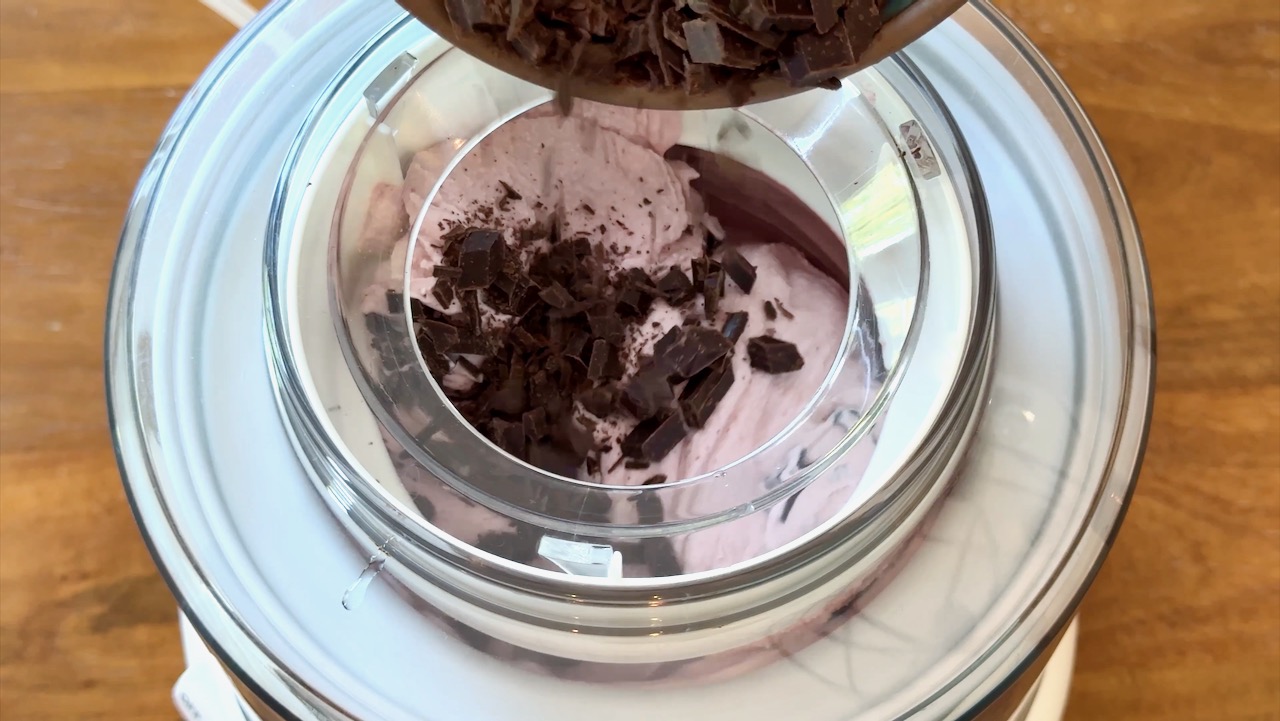
The movement of the machine will mix them in nicely.
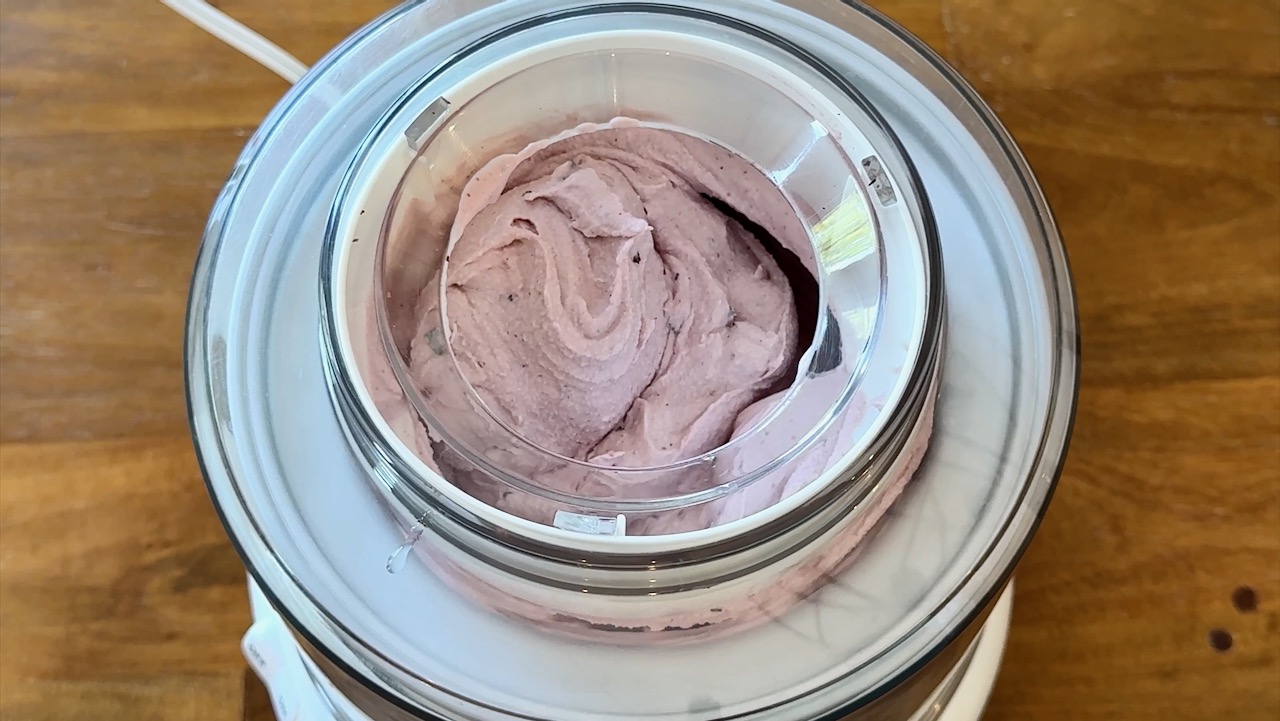
Once the ice cream is quite thick, turn off the machine.
Remove the paddle in the center.
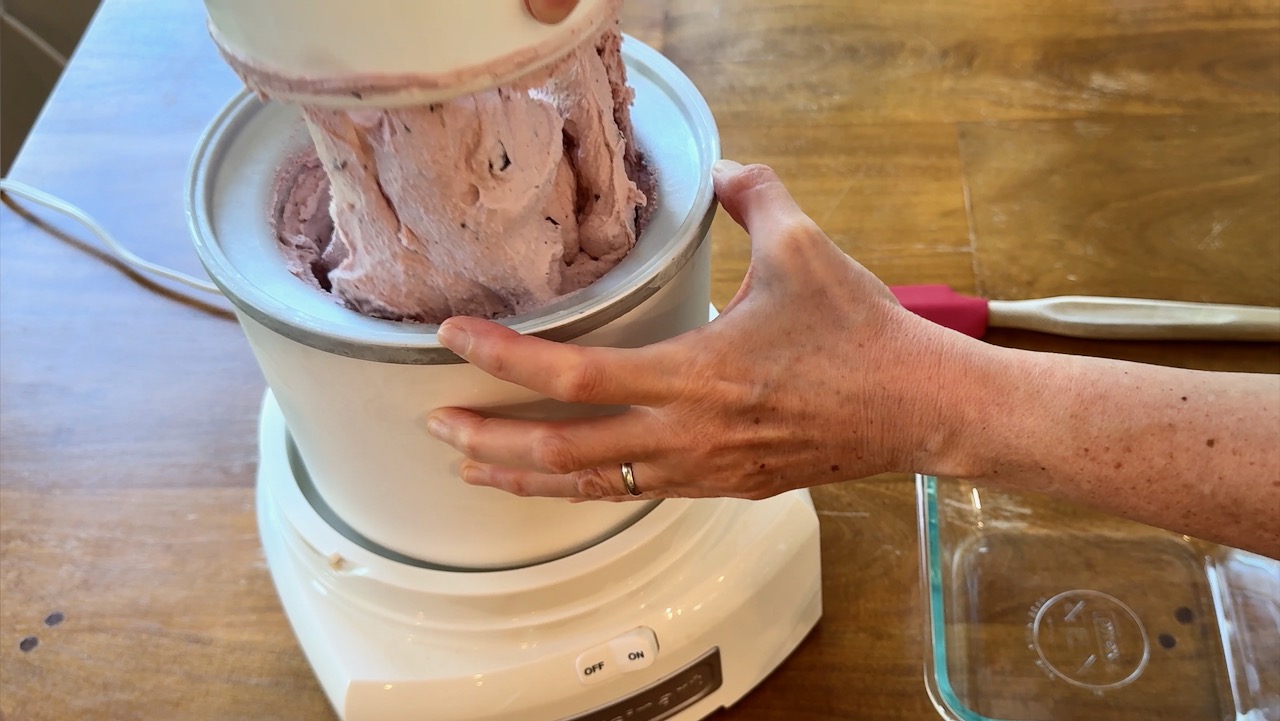
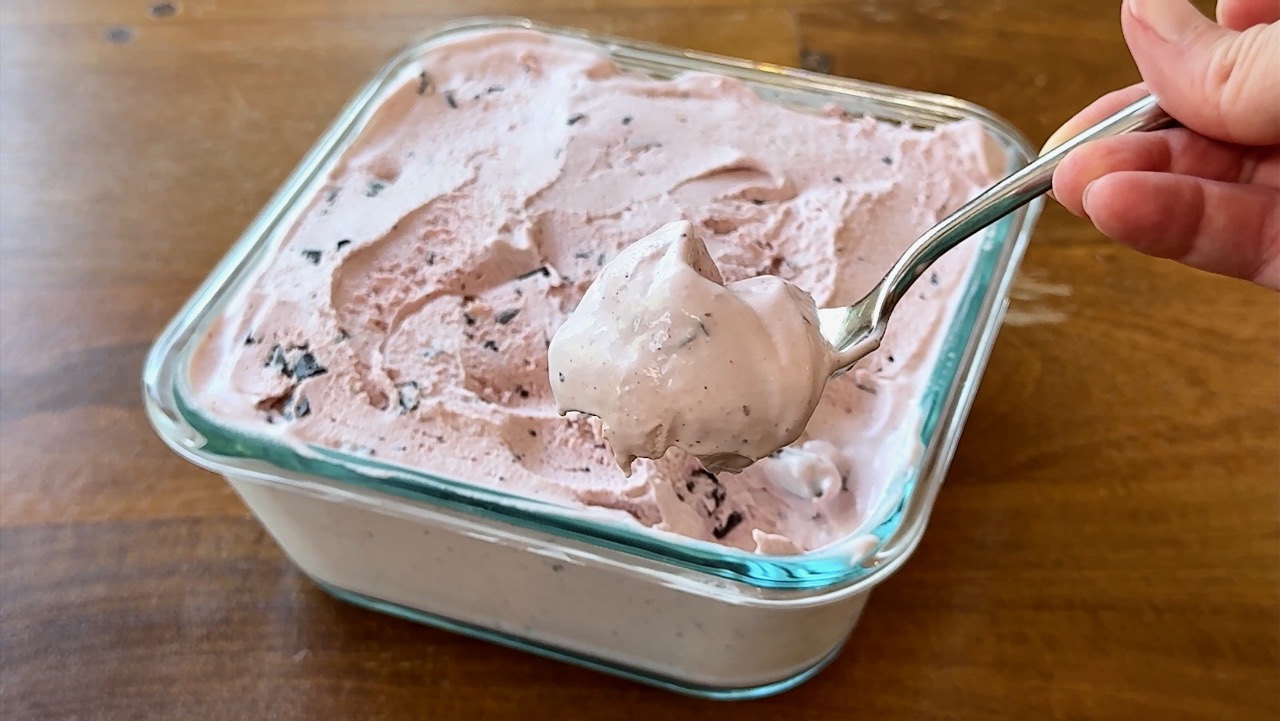
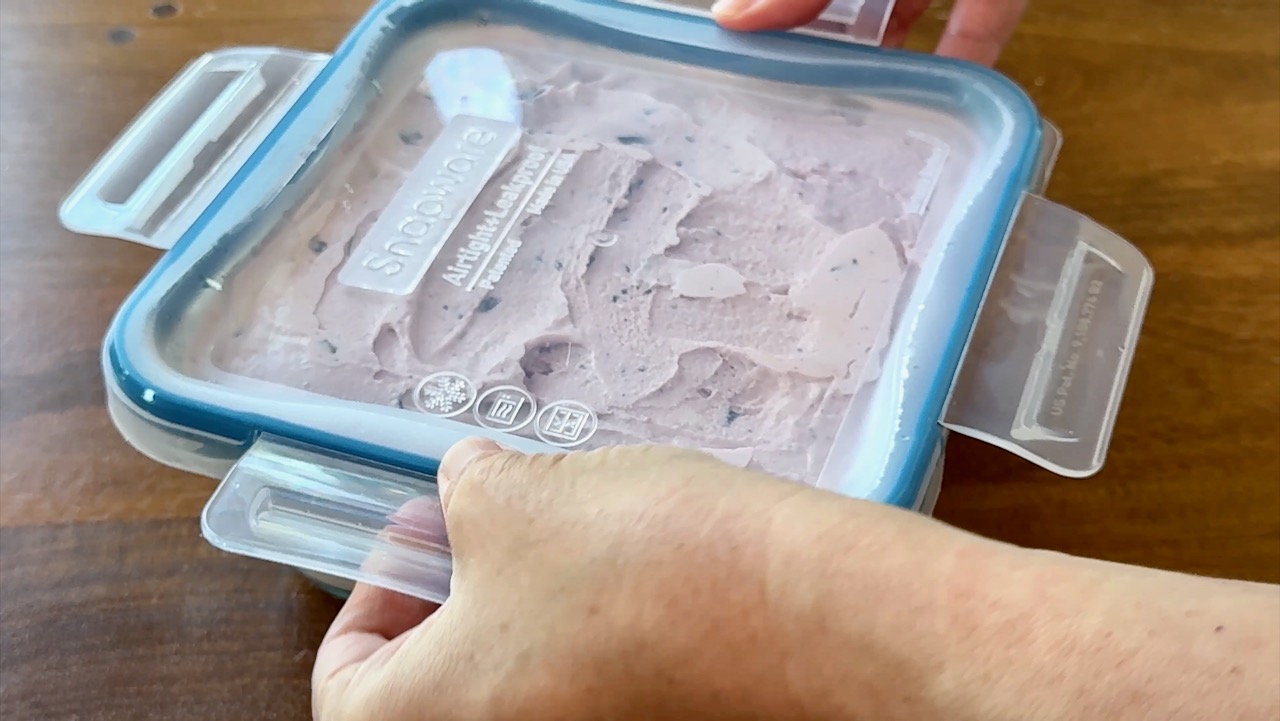
Transfer all the ice cream from the paddle and the churning bucket into a freezer-safe food storage container. I like to use Snapware glass containers for this.
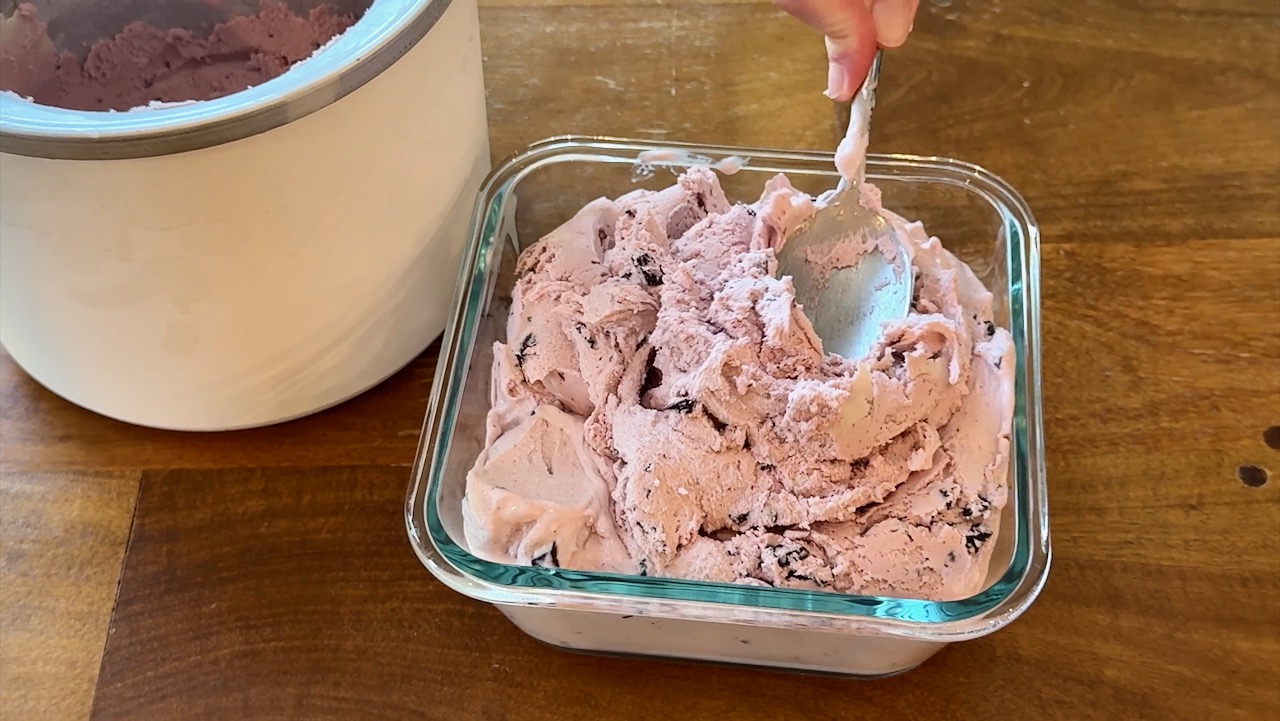
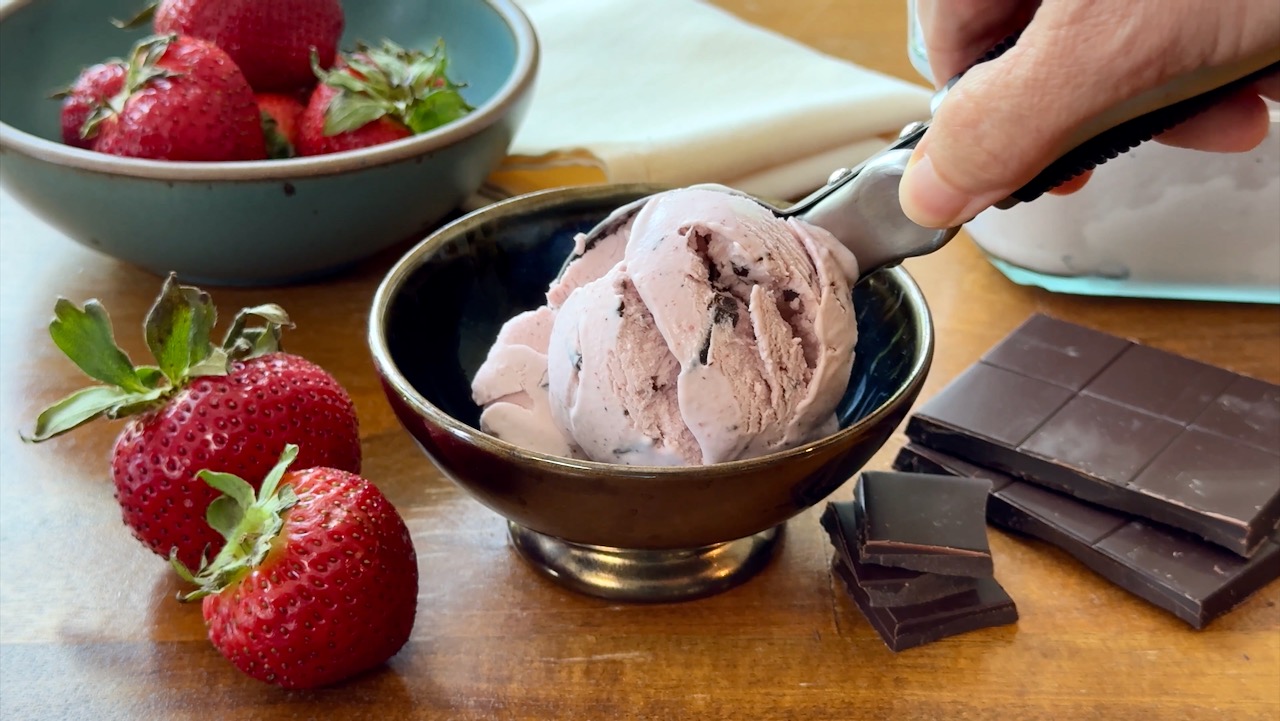
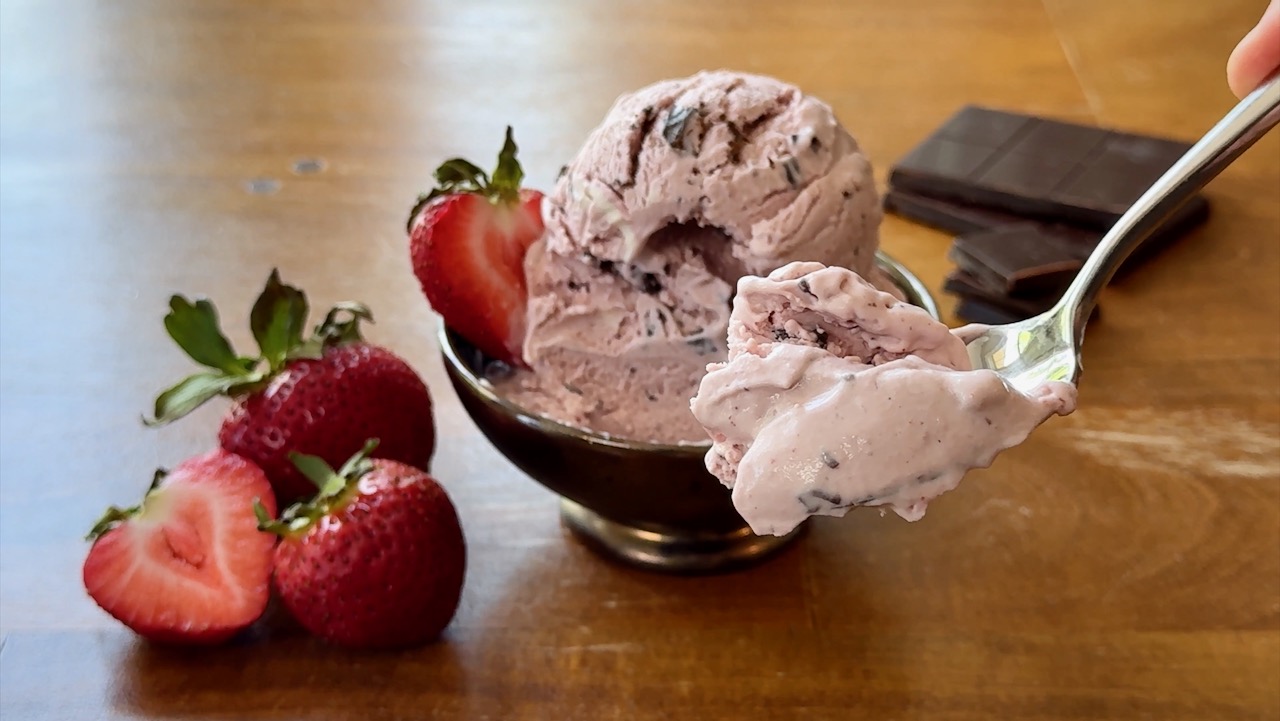
This is where you really get to admire the creamy texture of this plant-based ice cream.
Place the ice cream in the freezer until about 5 to 10 minutes before you're ready to serve it.
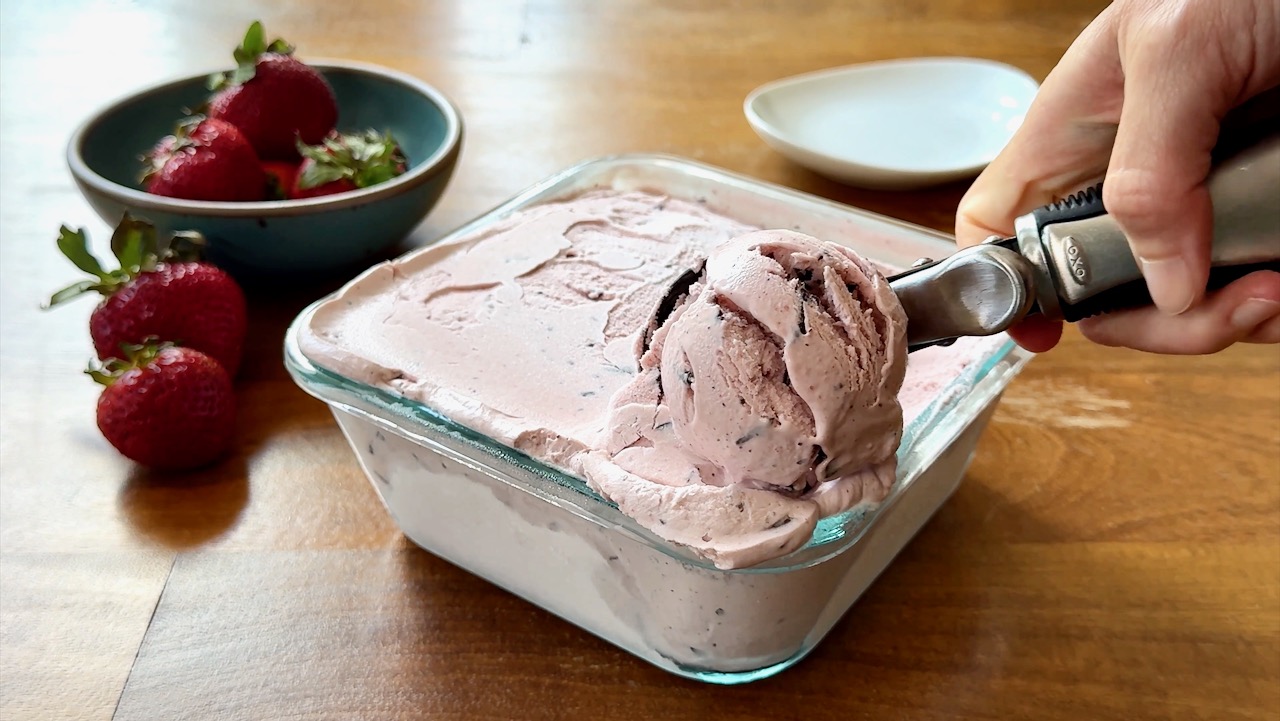
It scoops well when you give it a chance to thaw a bit before you serve it.
It's so fun to invite friends over to enjoy your homemade plant-based ice cream with you on a hot summer day or evening 😀 They'll be blown away!
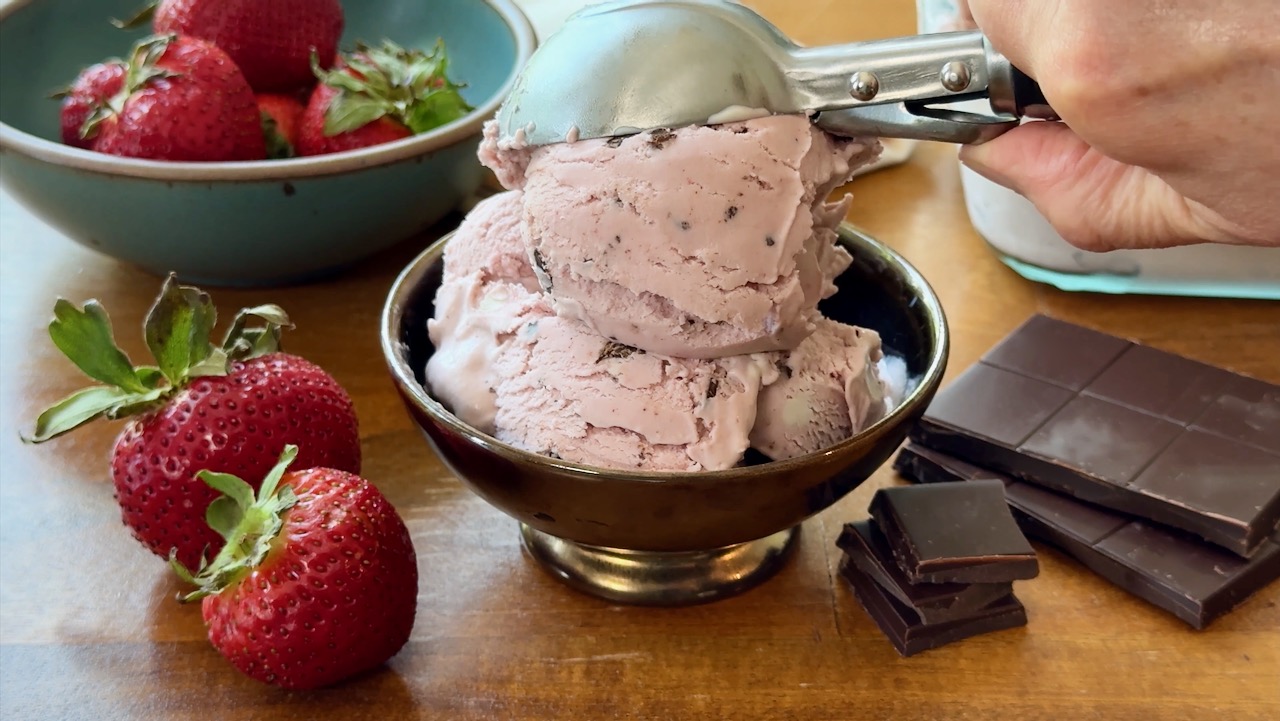
Garnish with a halved fresh strawberry.
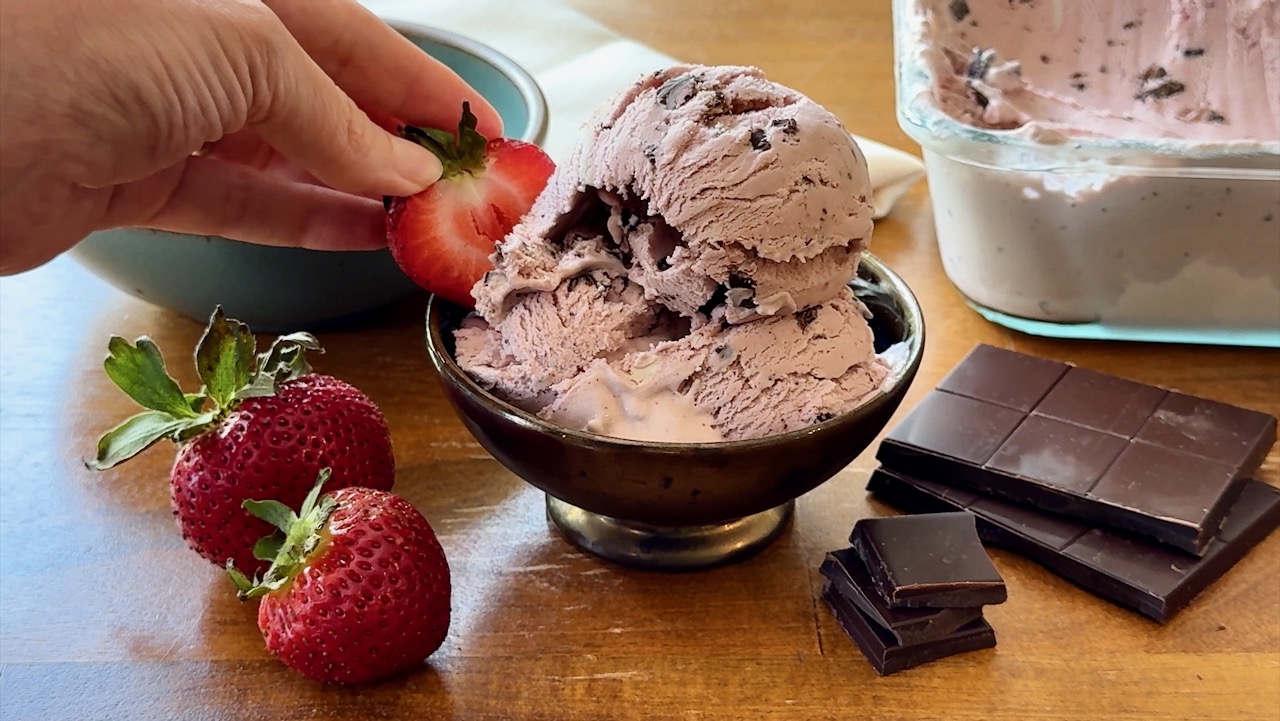
Serve and enjoy!
Equipment Recommendations
• High-speed blender
• Ice cream maker
• Silicone blender spatula
• Epicurean cutting board
• Ice cream scoop with release lever
• Snapware glass food storage containers
